AWS Lambda allows us to set up scalable functions while minimizing overhead. Instead of writing, hosting, and maintaining an entire Ruby on Rails app, we can use Lambda functions to respond to individual events independently. This article will bring you from an AWS newcomer to writing Ruby in your own Lambda functions.
Lambda allows you to run code in response to events without managing servers. This event-driven architecture ensures that you only pay for your code while it's working for you, not while it's idling. While Lambda is most commonly used to respond to events within the AWS ecosystem, such as deleting a file in an S3 Bucket, it can also be configured to act as an API in conjunction with AWS API Gateway.
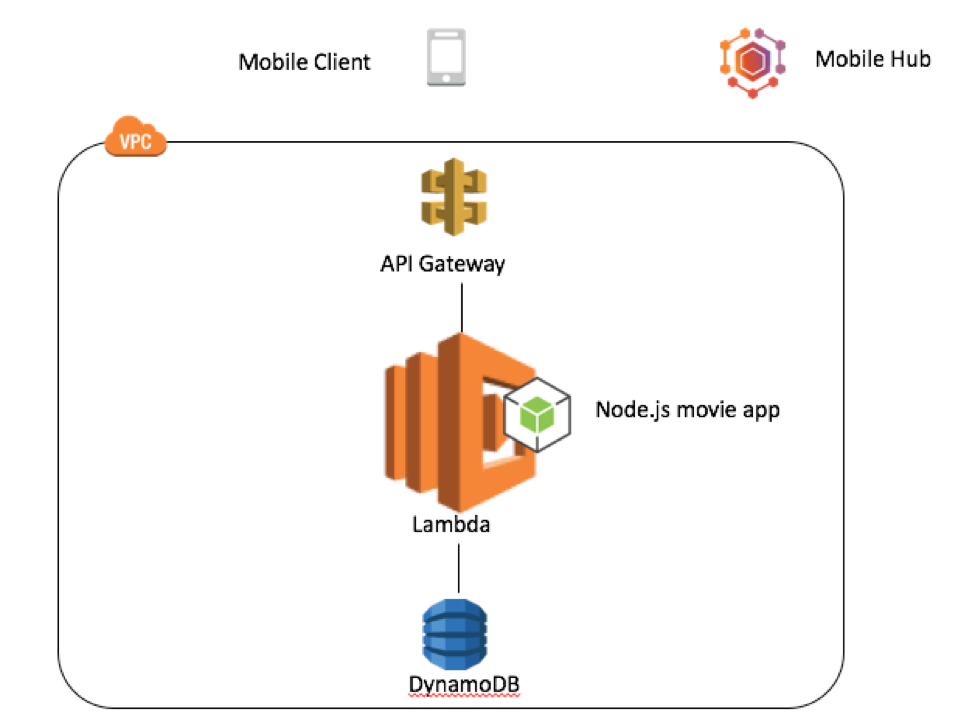
One could use Lambda to automate tasks based on time, such as Cron Jobs, or in response to events. This could extend into data processing, often with other AWS services, such as DynamoDB, or even into a scalable API. For example, the following diagram from Amazon's documentation shows a simple architecture where a mobile client makes an HTTP request, presumably to perform some CRUD action on the database. API Gateway routes the request to the corresponding Lambda function (much like Rails routes HTTP requests to a controller), and it performs the business logic and communicates with AWS DynamoDB to fulfill the request.
Because our code is run in a container, Amazon's infrastructure automatically puts the function in a sort of sleep mode when it is not being used. When a new request comes in, the container must start from a cold state, which can increase execution time by up to 2000ms. This can not only degrade your quality of service in terms of response time but also cost you money. For this reason, using Lambda for a time-sensitive task, such as sending user emails or responding to UI events, could create a bottleneck. You could mitigate this problem by scheduling AWS CloudWatch to make periodic requests to keep the function 'warm', but this would increase hosting costs.
Why Use AWS Lambda
Amazon Web Services (AWS) is the most popular cloud computing service in the world. It is simple enough for independent developers to use it but powerful and scalable enough to serve as infrastructure for some of the world's largest companies.
AWS Lambda is one such offering from Amazon that serves as a 'serverless compute service', which allows us to run code only in response to events. This reduces overhead and allows us to programmatically react to something, such as an API call, without hosting an entire server or building an entire app.
For the right use case, this serverless architecture can save a fortune in costs. Pricing is calculated with cost per request and cost per duration of compute time. After the first one million requests in a given month, pricing is $0.20 per one million requests plus $0.0000166667 for every GB-second of compute time the function uses. As you can imagine, this rate-based pricing makes it remarkably cheap to run a small service on Lambda while still maintaining the option of scaling infinitely at the same rate.
Ruby developers can benefit from this cloud service by using it as a stateless way to react to API calls or even other AWS events.
Setting Up a Trial AWS Account
AWS provides a rather generous free tier that includes one million free requests and up to 3.2 million seconds of compute time per month with AWS Lambda! If you already have an account, you can skip this step, but setting one up is very simple.
Head on over to sign up here and fill in your information to get started!
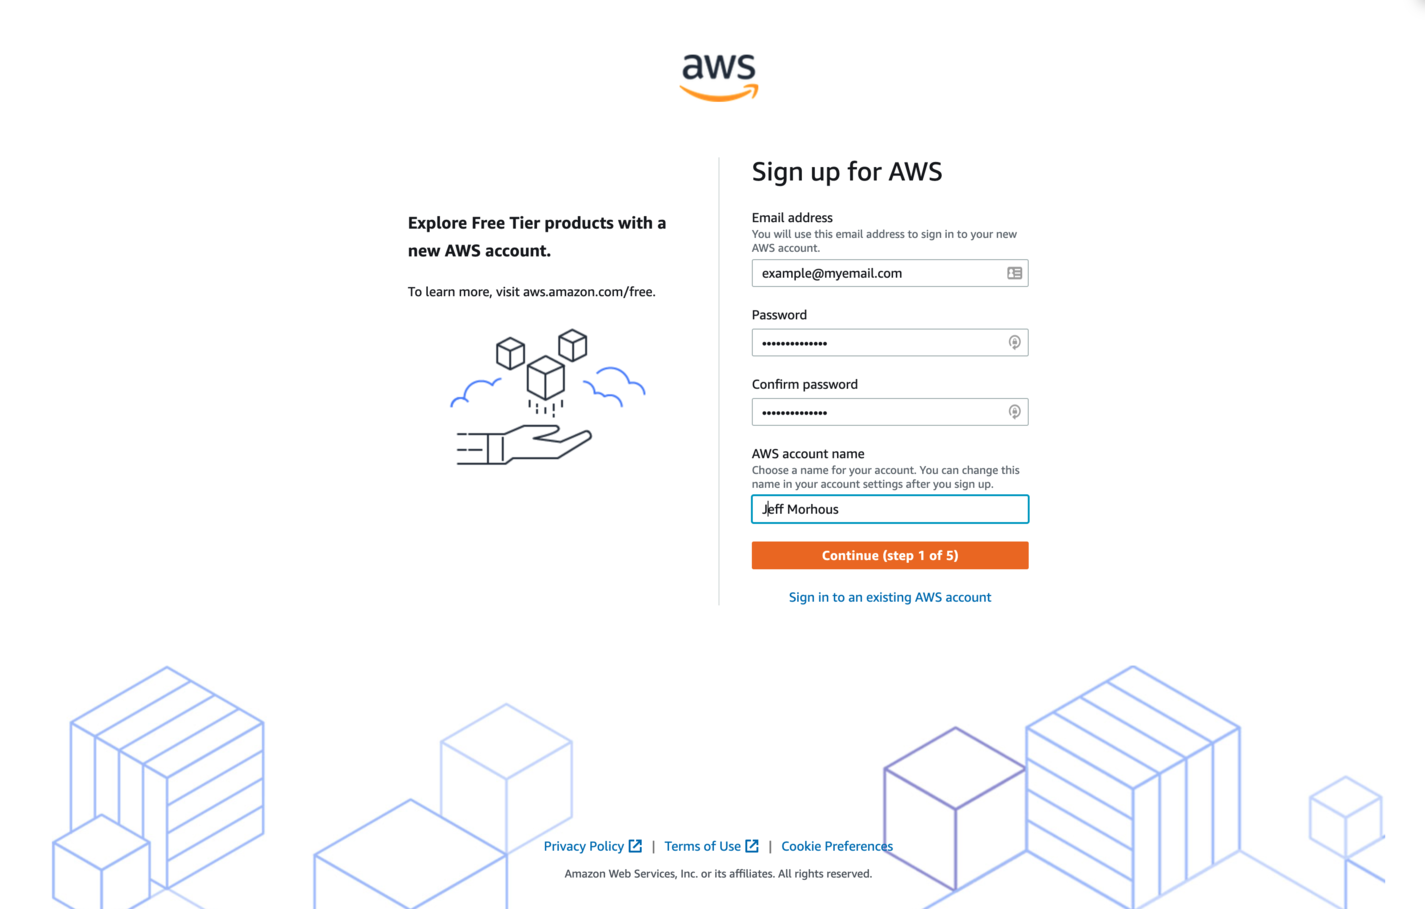
You'll be prompted to fill in more information, including account type and contact information, and you will need to enter credit/debit card information to cover any usage outside of the free tier. Our simple usage of Lambda is included in the free tier, but if you're worried about accidental overages, you can set up a budget to control your usage and prevent unexpected billing.
Creating a Lambda Function with Ruby
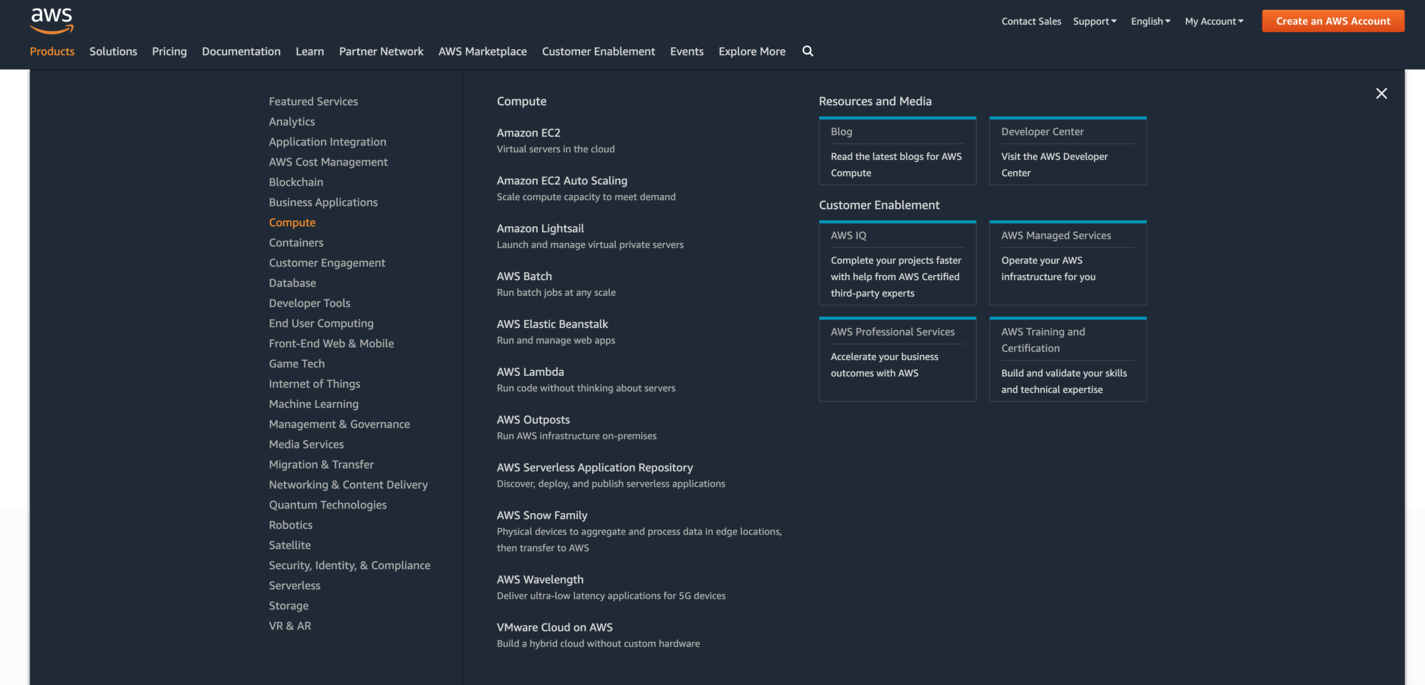
Once you are registered, hover over products, then compute, and select Lambda.
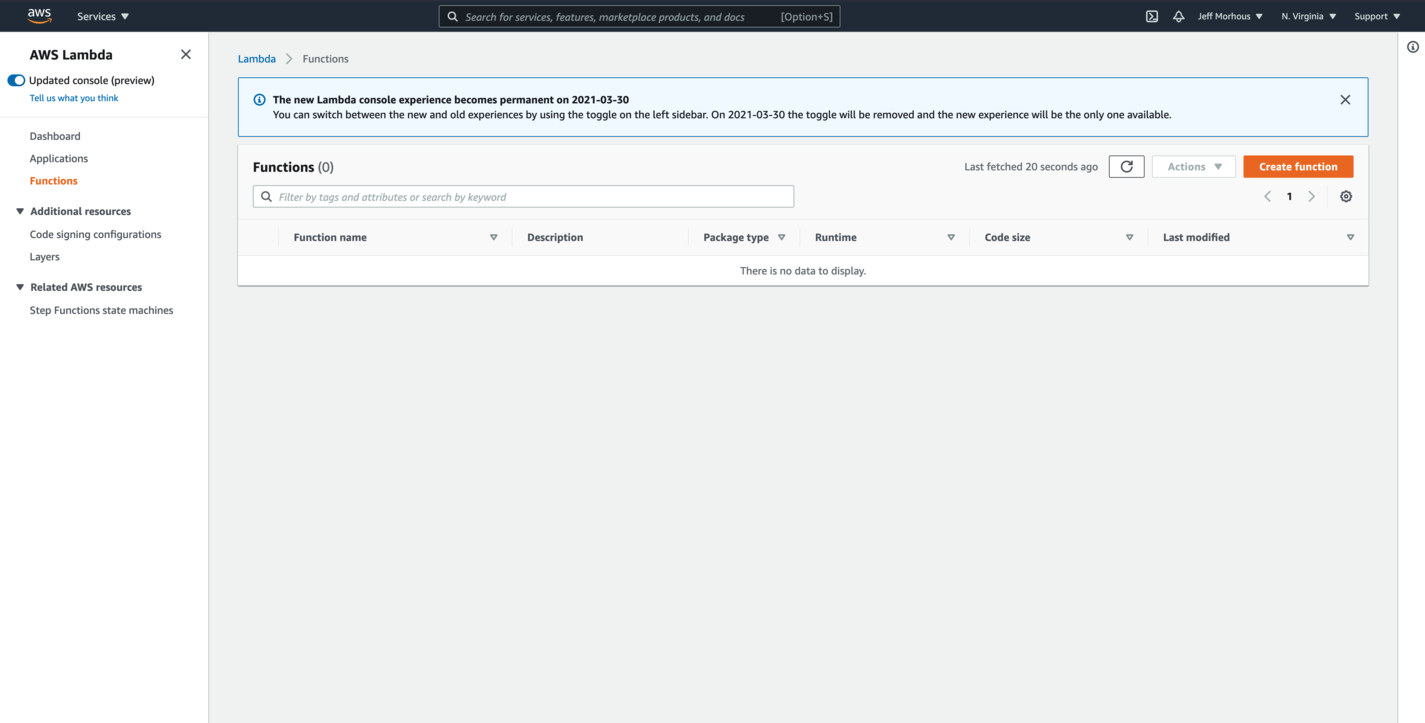
Once you're in the Lambda Console (you might have to hit 'get started'), you should see an empty list of functions with an orange button for "Create Function". As you might have guessed, we'll be pressing that orange "Create Function" button.
Then, we'll choose "Author from Scratch," as there are no template functions for Ruby yet, and working from scratch is the best way to learn.
You should name your function appropriately and select the Ruby version with which you want to work. I called mine FizzBuzz, after the famous programming problem.
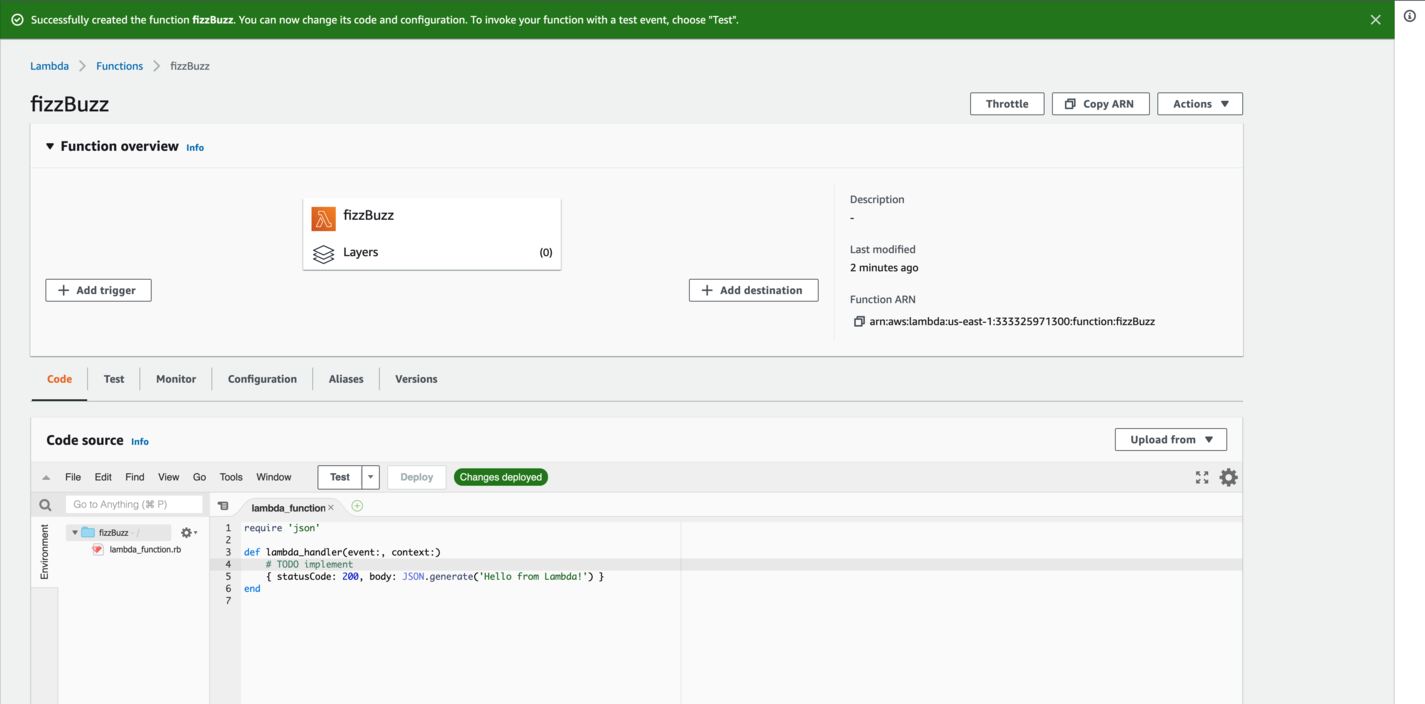
You may have to double-click on the lambda_function.rb file in the navigation pane to make the source code appear.
The function comes prewritten and is titled lambda_handler. As it stands, when it is invoked the function will return a 200 response with the text "Hello From Lambda!", as you can see below.
Using the Test Trigger for the Lambda Function
As discussed in the intro, Lambda functions can be triggered in a variety of different ways. One of the most common is through an API call. This, however, requires setting up AWS API Gateway, which is a bit outside of the scope of this article. API Gateway works wonderfully with Lambda to create APIs with very little configuration and infinite scalability.
Fortunately for us, it's not too difficult to simulate an API call through the function console, and a test event is already queued up for us.
Underneath the function overview is a toolbar that currently has "Code" selected. As shown in the last screenshot, right next to "Code" is a tab titled "Test". Go ahead and select "Test", and you'll see the Test console appear in the place of the code source.
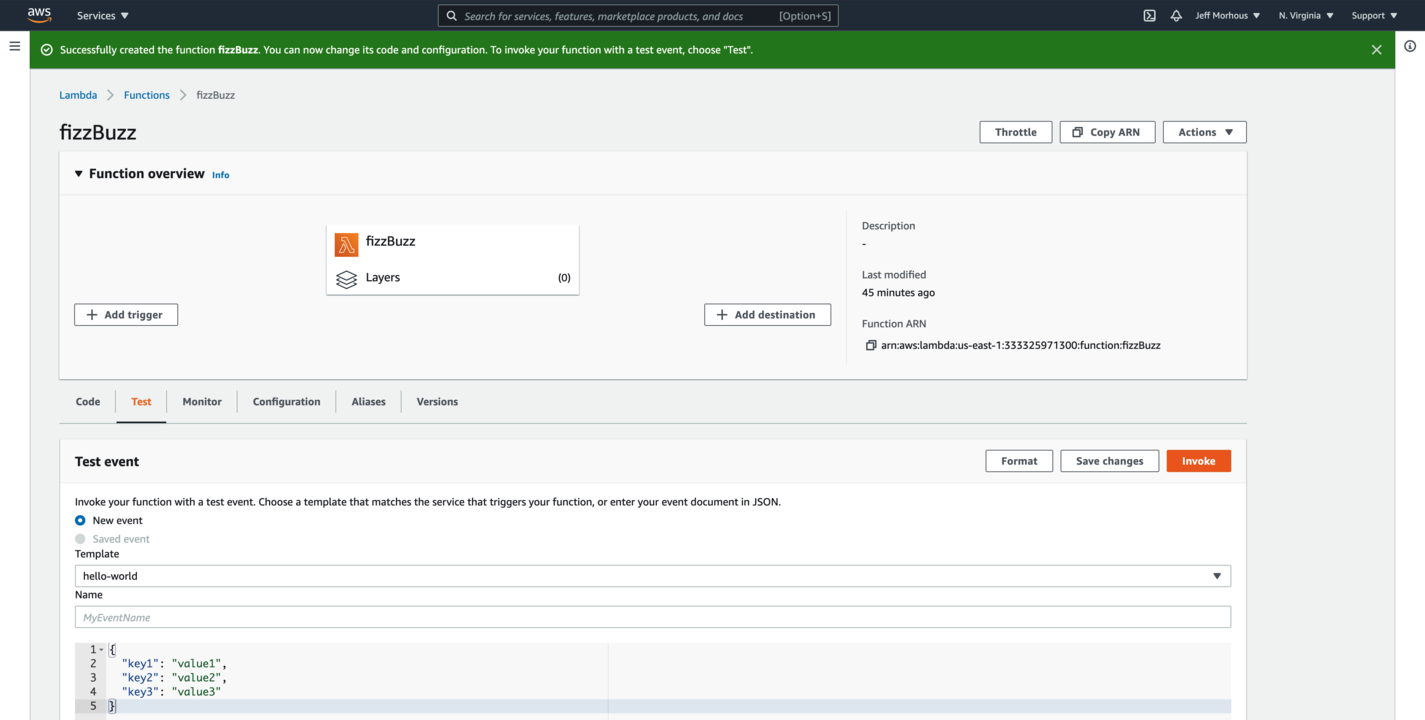
The pre-configured test event is a JSON object that gets sent to the Lambda function as the event object, which the function takes as a parameter. If you were calling an endpoint through API Gateway, this would be the body of the request.
Because the placeholder Lambda function doesn't read the event, it doesn't much matter what we send as the body. As such, we can proceed as written by tapping the orange "Invoke" button.
If you've set up the function correctly, you should see a green box titled "Execution Succeeded", which you can expand to see the JSON response from your function.
Writing FizzBuzz
Now that we've confirmed our Lambda function is working correctly, we can customize it with our own custom Ruby code. In this example, we'll have our Lambda function respond to the famous FizzBuzz problem. FizzBuzz is an interview favorite, and the prompt goes something like this
Write a program that prints the numbers from 1 to 50. But, for multiples of three, print “Fizz” instead of the number, and for multiples of five, print “Buzz”. For numbers that are multiples of both three and five print “FizzBuzz”.
Replace the code in your Lambda function with my FizzBuzz solution -
require 'json'

def lambda_handler(event:, context:)
    max_val = event['max_val']
    textResponse = ''
    1.upto(max_val) do |i|
      if i % 5 == 0 and i % 3 == 0
        textResponse += "FizzBuzz"
      elsif i % 5 == 0
        textResponse += "Buzz"
      elsif i % 3 == 0
        textResponse += "Fizz"
      else
        textResponse += i.to_s
      end
    end
    { statusCode: 200, body: JSON.generate(textResponse) }
end
This is a little bit of a spin on the usual FizzBuzz. Instead of just looping through to 50, we are looping through the number that is sent with the event. The event object is passed in like a dictionary, so asking for event[max_val] returns the value at the max_val key. Finally, instead of printing out the FizzBuzz solution, we just append it to a String that we return as a JSON object.
Next, make sure you hit the Orange "Deploy" button to update your Lambda function with the new code.
After you've written the solution and deployed it, hop back on over to the Test console. Change your test event to just pass in a max_val key/value pair. It should look like this:
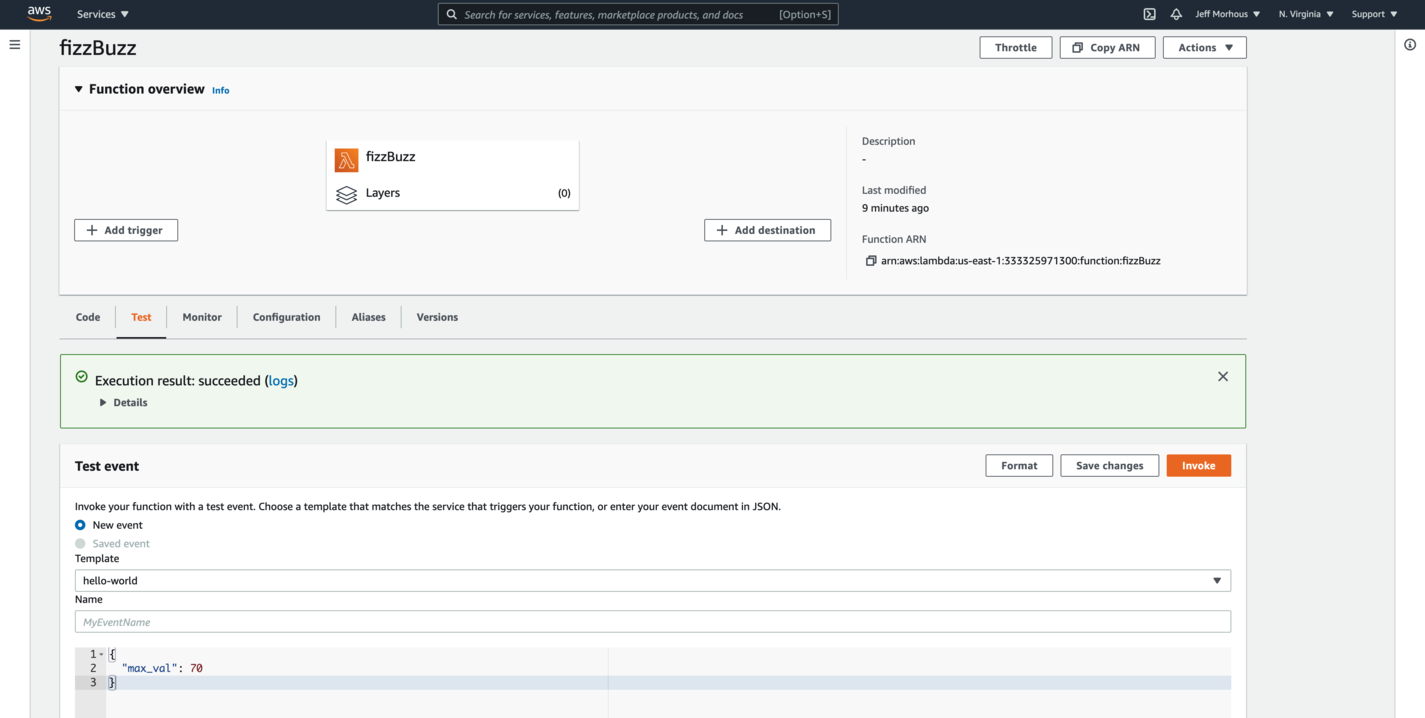
The JSON is simply
{
  "max_val": 70
}
Finally, hit "Invoke" to run your test! You can expand the result to show that the function read the input and returned the result of the FizzBuzz problem.
Easier Developing
While working in the web console has been convenient for learning purposes, being restricted to it would be a nightmare. One of the most popular ways to develop with AWS Lambda is to use the CLI, which stands for Command Line Interface.
Once you create the right permissions through IAM roles, install the CLI on your machine and configure it with your credentials. Then, you can use the Lambda CLI to test your function as you develop locally (in your IDE of choice) and deploy your changes through the command line.
Another popular development method is through frameworks, such as Serverless. Serverless handles much of the cumbersome configuration that AWS is plagued with, including setting up API Gateway should you need it for your function. Serverless also enhances logging, makes Ruby Gem management easier, and allows the configuration of CI/CD, so you can automatically deploy from your repository based on pipelines.
Without using Serverless or a similar framework, including Ruby Gems requires jumping through some hoops. You'll have to expand your function to involve a folder, and then create a .bundle/config file in your root directory that has the following initialization code in it to tell bundler where to put the gems you install:
---
BUNDLE_PATH: "vendor/bundle"
Then, you can use the CLI to bundle add the gems you need and require them directly in your code.
Limitations of AWS Lambda
Congratulations, you just wrote your first AWS Lambda function in Ruby! Previously, the only feasible solution to run an API with Ruby was often to create an entire Rails app. Now, you can create endpoints one at a time, skipping all the bloat that comes with a full application. Lambda bills for usage in microseconds, so it can be remarkably cheap for quick solutions. Furthermore, taking advantage of this cloud offering allows us to operate at low cost but still scale incredibly quickly. AWS is the reason Netflix works during peak hours without having to pay for constant maximum-capacity server bandwidth.
Despite all the wins, AWS Lambda is not a catch-all solution. It won't function as an API on its own and is limited in its state capabilities. Lambda functions can't take more than 15 minutes to run, and memory is restricted to 6GB. It's also a bit of a challenge to test Lambda functions, as you'll often have to duplicate your entire infrastructure in a separate environment.
If you have an app or feature that doesn't need to be running 24/7, then Lambda might be a good fit. If your function needs to maintain some kind of state or even update data outside of the AWS ecosystem, then Lambda is not a good fit. Lambda also defaults to 1,000 concurrent connections, so an application that consistently sees more use than that would be very unreliable on Lambda. Essentially, Lambda is best used in short-lived event-driven automation tasks that don't require a persistent state.
Lambda functions can be a powerful tool, especially in the hands of a Ruby developer like you.


