Web Development in Go: Middleware, Templating, Databases & Beyond
In the previous article in this series, we had an extensive discussion on the Go
net/http package and how it can be used for production-ready web applications.
We focused mostly on the routing aspect and other quirks and features of the
http.ServeMux type.
This article will close out the discussion on ServeMux by demonstrating how
middleware functions can be implemented with the default router and introducing
other standard library packages that are sure to come in handy when developing
web services with Go.
Middleware in Go
The practice of setting up shared functionality that needs to run for many or all HTTP requests is called middleware. Some operations, such as authentication, logging, and cookie validation, are often implemented as middleware functions, which act on a request independently before or after the regular route handlers.
To implement middleware in Go, you need to make sure you have a type that
satisfies the http.Handler interface.
Ordinarily, this means that you need to attach a method with the signature
ServeHTTP(http.ResponseWriter, *http.Request) to the type. When using this
method, any type will satisfy the http.Handler interface.
Here's a simple example:
package main

import "net/http"

type helloHandler struct {
	name string
}

func (h helloHandler) ServeHTTP(w http.ResponseWriter, r *http.Request) {
	w.Write([]byte("Hello " + h.name))
}

func main() {
	mux := http.NewServeMux()

	helloJohn := helloHandler{name: "John"}
	mux.Handle("/john", helloJohn)
	http.ListenAndServe(":8080", mux)
}
Any request sent to the /john route will be passed straight to the
helloHandler.ServeHTTP method. You can observe this in action by starting the
server and heading to http://localhost:8080/john.
Having to add the ServeHTTP method to a custom type every time you want to
implement an http.Handler would be quite tedious, so the net/http package
provides the http.HandlerFunc type, which allows the use of ordinary functions
as HTTP handlers.
All you need to do is ensure that your function has the following signature:
func(http.ResponseWriter, *http.Request); then, convert it to the
http.HandlerFunc type.
package main

import "net/http"

func helloJohnHandler(w http.ResponseWriter, r *http.Request) {
	w.Write([]byte("Hello John"))
}

func main() {
	mux := http.NewServeMux()
	mux.Handle("/john", http.HandlerFunc(helloJohnHandler))
	http.ListenAndServe(":8080", mux)
}
You can even replace the mux.Handle line in the main function above with
mux.HandleFunc and pass the function to it directly. We used this pattern
exclusively in the previous article.
func main() {
	mux := http.NewServeMux()
	mux.HandleFunc("/john", helloJohnHandler)
	http.ListenAndServe(":8080", mux)
}
At this point, the name is hardcoded into the string, unlike before when we were
able to set the name in the main function before calling the handler. To
remove this limitation, we can put our handler logic into a closure, as shown
below:
package main

import "net/http"

func helloHandler(name string) http.Handler {
	return http.HandlerFunc(func(w http.ResponseWriter, r *http.Request) {
		w.Write([]byte("Hello " + name))
	})
}

func main() {
	mux := http.NewServeMux()
	mux.Handle("/john", helloHandler("John"))
	http.ListenAndServe(":8080", mux)
}
The helloHandler function itself does not satisfy the http.Handler
interface, but it creates and returns an anonymous function that does. This
function closes over the name parameter, which means it can access it
whenever it is called. At this point, the helloHandler function can be reused
for as many different names as necessary.
So, what does all this have to do with middleware? Well, creating a middleware function is done in the same way as we've seen above. Instead of passing a string to the closure (as in the example), we could pass the next handler in the chain as an argument.
Here's the complete pattern:
func middleware(next http.Handler) http.Handler {
  return http.HandlerFunc(func(w http.ResponseWriter, r *http.Request) {
    // Middleware logic goes here...
    next.ServeHTTP(w, r)
  })
}
The middleware function above accepts a handler and returns a handler.
Notice how we're able to make the anonymous function satisfy the http.Handler
interface by casting it to an http.HandlerFunc type. At the end of the
anonymous function, control is transferred to the next handler by invoking the
ServeHTTP() method. If you need to pass values between handlers, such as the
ID of an authenticated user, you can use the http.Request.Context() method
introduced in Go 1.7.
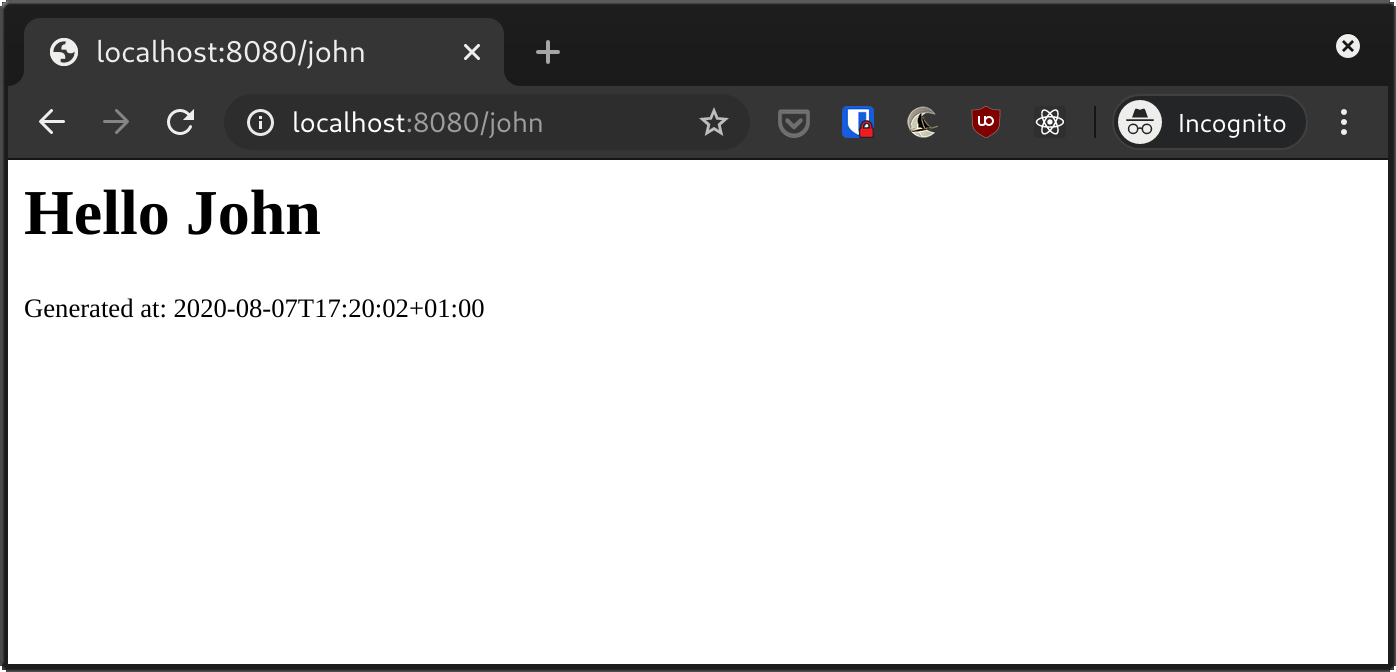
Let's write a middleware function that simply demonstrates this pattern. This
function adds a property called requestTime to the request object, which is
subsequently utilized by helloHandler to display the timestamp of a request.
package main

import (
	"context"
	"net/http"
	"time"
)

func requestTime(next http.Handler) http.Handler {
	return http.HandlerFunc(func(w http.ResponseWriter, r *http.Request) {
		ctx := r.Context()
		ctx = context.WithValue(ctx, "requestTime", time.Now().Format(time.RFC3339))
		r = r.WithContext(ctx)
		next.ServeHTTP(w, r)
	})
}

func helloHandler(name string) http.Handler {
	return http.HandlerFunc(func(w http.ResponseWriter, r *http.Request) {
		responseText := "<h1>Hello " + name + "</h1>"

		if requestTime := r.Context().Value("requestTime"); requestTime != nil {
			if str, ok := requestTime.(string); ok {
				responseText = responseText + "\n<small>Generated at: " + str + "</small>"
			}
		}
		w.Write([]byte(responseText))
	})
}

func main() {
	mux := http.NewServeMux()
	mux.Handle("/john", requestTime(helloHandler("John")))
	http.ListenAndServe(":8080", mux)
}
Since our middleware function accepts and returns an http.Handler type, it is
possible to create an infinite chain of middleware functions nested inside each
other.
For example,
mux := http.NewServeMux()
mux.Handle("/", middleware1(middleware2(appHandler)))
You can use a library like Alice to transform the above construct to a more readable form such as:
alice.New(middleware1, middleware2).Then(appHandler)
Templating
Although the use of templates has waned with the advent of single-page applications, it remains an important aspect of a complete web development solution.
Go provides two packages for all your templating needs: text/template and
html/template. Both of them have the same interface, but the latter will
do some encoding behind the scenes to guard against code injection exploits.
Although Go templates aren't the most expressive out there, they get the job done just fine and can be used for production applications. In fact, it's what Hugo, the popular static site generator, bases its templating system on.
Let's take a quick look at how the html/template package may be used to send
HTML output as a response to a web request.
Creating a template
Create an index.html file in the same directory as your main.go file and
add the following code to the file:
<ul>
  {{ range .TodoItems }}
  <li>{{ . }}</li>
  {{ end }}
</ul>
Next, add the following code to your main.go file:
package main

import (
	"html/template"
	"log"
	"os"
)

func main() {
	t, err := template.ParseFiles("index.html")
	if err != nil {
		log.Fatal(err)
	}

	todos := []string{"Watch TV", "Do homework", "Play games", "Read"}

	err = t.Execute(os.Stdout, todos)
	if err != nil {
		log.Fatal(err)
	}
}
If you execute the above program with go run main.go. You should see the
following output:
<ul>
  <li>Watch TV</li>
  <li>Do homework</li>
  <li>Play games</li>
  <li>Read</li>
</ul>
Congratulations! You just created your first Go template. Here's a short explanation of the syntax we used in the template file:
- Go uses double braces (
{{and}}) to delimit data evaluation and control structures (known as actions) in templates. - The
rangeaction is how we're able to iterate over data structures, such as slices. .represents the current context. In therangeaction, the current context is the slice oftodos. Inside the block,{{ . }}refers to each element in the slice.
In the main.go file, the template.ParseFiles method is used to create a new
template from one or more files. This template is subsequently executed using
the template.Execute method; it takes an io.Writer and the data, which will
be applied to the template.
In the above example, the template is executed to the standard output, but we
can execute it to any destination, as long as it satisfies the io.Writer
interface. For example, if you want to return the output as part of a web
request, all you need to do is execute the template to the ResponseWriter
interface, as shown below.
package main
import (
"html/template"
"log"
"net/http"
)
func main() {
t, err := template.ParseFiles("index.html")
if err != nil {
log.Fatal(err)
}
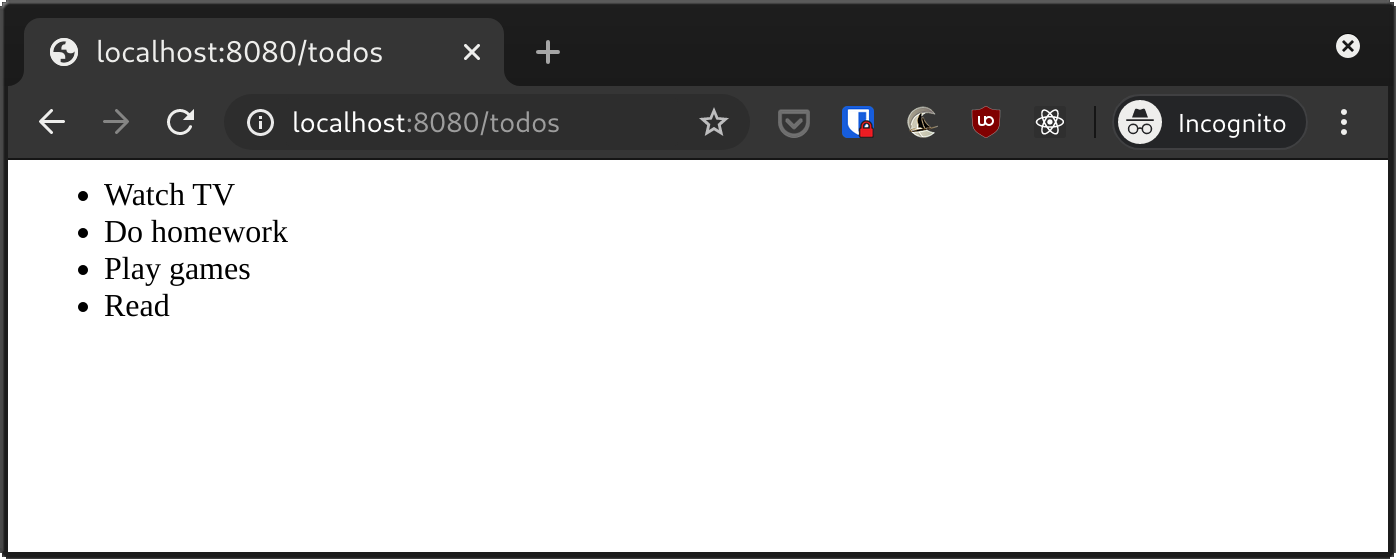
todos := []string{"Watch TV", "Do homework", "Play games", "Read"}
http.HandleFunc("/todos", func(w http.ResponseWriter, r *http.Request) {
w.Header().Set("Content-Type", "text/html")
err = t.Execute(w, todos)
if err != nil {
http.Error(w, err.Error(), http.StatusInternalServerError)
}
})
http.ListenAndServe(":8080", nil)
}
This section is only meant to be a quick intro to Go’s template packages. Make sure to check out the documentation for the text/template and html/template if you’re interested in more complex use cases.
If you're not a fan of how Go does its templating, alternatives exist, such as the Plush library.
Working with JSON
If you need to work with JSON objects, you will be pleased to hear that Go's
standard library includes everything you need to parse and encode JSON through
the encoding/json package.
Default types
When encoding or decoding a JSON object in Go, the following types are used:
boolfor JSON booleans,float64for JSON numbers,stringfor JSON strings,nilfor JSON null,map[string]interface{}for JSON objects, and[]interface{}for JSON arrays.
Encoding
To encode a data structure as JSON, the json.Marshal function is used. Here's
an example:
package main

import (
	"encoding/json"
	"fmt"
)

type Person struct {
	FirstName string
	LastName  string
	Age       int
	email     string
}

func main() {
	p := Person{
		FirstName: "Abraham",
		LastName:  "Freeman",
		Age:       100,
		email:     "abraham.freeman@hey.com",
	}

	json, err := json.Marshal(p)
	if err != nil {
		fmt.Println(err)
		return
	}

	fmt.Println(string(json))
}
In the above program, we have a Person struct with four different fields. In
the main function, an instance of Person is created with all the fields
initialized. The json.Marshal method is then used to convert the p structure
to JSON. This method returns a slice of bytes or an error, which we have to
handle before accessing the JSON data.
To convert a slice of bytes to a string in Go, we need to perform type conversion, as demonstrated above. Running this program will produce the following output:
{"FirstName":"Abraham","LastName":"Freeman","Age":100}
As you can see, we get a valid JSON object that can be used in any way we
want. Note that the email field is left out of the result. This is because
it is not exported from the Person object by virtue of starting with a
lowercase letter.
By default, Go uses the same property names in the struct as field names in the resulting JSON object. However, this can be changed through the use of struct field tags.
type Person struct {
	FirstName string `json:"first_name"`
	LastName  string `json:"last_name"`
	Age       int    `json:"age"`
	email     string `json:"email"`
}
The struct field tags above specify that the JSON encoder should map the
FirstName property in the struct to a first_name field in the JSON object
and so on. This change in the previous example produces the following output:
{"first_name":"Abraham","last_name":"Freeman","age":100}
Decoding
The json.Unmarshal function is used for decoding a JSON object into a Go
struct. It has the following signature:
func Unmarshal(data []byte, v interface{}) error
It accepts a byte slice of JSON data and a place to store the decoded data. If
the decoding is successful, the error returned will be nil.
Assuming we have the following JSON object,
json := "{"first_name":"John","last_name":"Smith","age":35, "place_of_birth": "London", gender:"male"}"
We can decode it to an instance of the Person struct, as shown below:
func main() {
	b := `{"first_name":"John","last_name":"Smith","age":35, "place_of_birth": "London", "gender":"male", "email": "john.smith@hmail.com"}`
	var p Person
	err := json.Unmarshal([]byte(b), &p)
	if err != nil {
		fmt.Println(err)
		return
	}

	fmt.Printf("%+v\n", p)
}
And you get the following output:
{FirstName:John LastName:Smith Age:35 email:}
Unmarshal only decodes fields that are found in the destination type. In
this case, place_of_birth and gender are ignored since they do not map to
any struct field in Person. This behavior can be leveraged to pick only
a few specific fields out of a large JSON object. As before, unexported fields
in the destination struct are unaffected even if they have a corresponding
field in the JSON object. That's why email remains an empty string in the
output even though it is present in the JSON object.
Databases
The database/sql package provides a generic interface around SQL (or SQL-like)
databases. It must be used in conjunction with a database driver, such as the
ones listed here. When importing
a database driver, you need to prefix it with an underscore _ to initialize
it.
For example, here's how to use the MySQL
driver package with database/sql:
import (
	"database/sql"
	_ "github.com/go-sql-driver/mysql"
)
Under the hood, the driver registers itself as being available to the
database/sql package, but it won't be used directly in our code. This helps us
reduce dependency on a specific driver so that it can be easily swapped out
for another with minimal effort.
Opening a database connection
To access a database, you need to create a sql.DB object, as shown below:
func main() {
	db, err := sql.Open("mysql", "user:password@tcp(127.0.0.1:3306)/hello")
	if err != nil {
		log.Fatal(err)
	}
}
The sql.Open method prepares the database abstraction for later use. It does
not establish a connection to the database or validate the connection
parameters. If you want to ensure that the database is available and accessible
immediately, use the db.Ping() method:
err = db.Ping()
if err != nil {
  log.Fatal(err)
}
Closing a database connection
To close a database connection, you can use db.Close(). Normally, you want to
defer the closing of the database until the function that opened the database
connection ends, usually the main function:
func main() {
	db, err := sql.Open("mysql", "user:password@tcp(127.0.0.1:3306)/hello")
	if err != nil {
		log.Fatal(err)
	}
  defer db.Close()
}
The sql.DB object is designed to be long-lived, so you should not open and
close it frequently. If you do, you may experience problems, such as poor reuse
and sharing of connections, running out of available network resources, or
sporadic failures. It's best to pass the sql.DB method around or make it
available globally and only close it when the program is done accessing that
datastore.
Fetching data from the database
Querying a table can be done in three steps. First, call db.Query(). Then,
iterate over the rows. Finally, use rows.Scan() to extract each row into
variables. Here's an example:
var (
	id int
	name string
)

rows, err := db.Query("select id, name from users where id = ?", 1)
if err != nil {
	log.Fatal(err)
}

defer rows.Close()

for rows.Next() {
	err := rows.Scan(&id, &name)
	if err != nil {
		log.Fatal(err)
	}

	log.Println(id, name)
}

err = rows.Err()
if err != nil {
	log.Fatal(err)
}
If a query returns a single row, you can use the db.QueryRow method instead of
db.Query and avoid some of the lengthy boilerplate code in the previous code
snippet:
var (
	id int
	name string
)

err = db.QueryRow("select id, name from users where id = ?", 1).Scan(&id, &name)
if err != nil {
	log.Fatal(err)
}

fmt.Println(id, name)
NoSQL databases
Go also has good support for NoSQL databases, such as Redis, MongoDB, Cassandra, and the like, but it does not provide a standard interface for working with them. You'll have to rely entirely on the driver package for the specific database. Some examples are listed below.
- https://github.com/go-redis/redis (Redis driver).
- https://github.com/mongodb/mongo-go-driver (MongoDB driver).
- https://github.com/gocql/gocql (Cassandra driver).
- https://github.com/Shopify/sarama (Apache Kafka driver)
Wrapping up
In this article, we discussed some essential aspects of building web applications with Go. You should now be able to understand why many Go programmers swear by the standard library. It's very comprehensive and provides most of the tools necessary for a production-ready service.
If you require clarification on anything we've covered here, please send me a
message on Twitter. In the next and final
article in this series, we'll discuss the go tool and how to use it to tackle
common tasks in the course of developing with Go.
Thanks for reading, and happy coding!

Written by
Ayooluwa IsaiahAyo is a developer with a keen interest in web tech, security and performance. He also enjoys sports, reading and photography.