Building A SOLID foundation for Laravel API integrations
All developers will eventually need to integrate an app with a third-party REST API when doing web development. However, the RESTful APIs that we are trying to make sense of often do not provide a lot of flexibility. This article addresses this issue within your codebase, showing you how to seamlessly implement any Laravel API integration.
We previously published a great article on Consuming APIs in Laravel with Guzzle, which showcased how Laravel can handle outbound REST API calls out of the box. If you are looking for a way to call RESTful APIs and have not yet given this article a read, I would suggest starting there. We won't cover building an API with Laravel, but we will build on top of this idea in real time to learn how to structure our codebase to make use of a more SOLID approach to handling third-party APIs.
Structuring the Laravel project
Let's start with building a new project. If you haven't already installed Composer, install it now:
brew install composer
Then, create a new Laravel API example project with:
composer create-project --prefer-dist laravel/laravel laravel-api-example
Next, go into the new Laravel project directory with:
cd laravel-api-example
At this point you could start a development server with php artisan serve, but we'll skip that for now.
Before we start creating files, we will install a third-party package that will help a ton. Laravel Saloon is a package created by Sam Carré that works as a middleman between Laravel and any third-party API to allow us to build an incredible developer experience around these REST APIs.
You can install Saloon using Composer into your new sample Laravel project without any extra configuration:
composer require saloonphp/saloon "^3.0"
Next, we'll install the Laravel Saloon plugin with:
composer require saloonphp/laravel-plugin "^3.0"
Finally, you can run this command publish the configuration file for Saloon:
php artisan vendor:publish --tag=saloon-config
Once these packages are installed, we can start building our Laravel API example project. The general idea behind Laravel Saloon is that each third-party API will consist of a connector and multiple requests.
The connector class will act as the base class for all requests, while each request will act as a specified class for each of the REST API endpoints. These classes will live in the app/Http/Integrations folder of our app. With this said, we are ready to look at an example for our new app.
Getting started with Laravel API development
For our Laravel project, we will use Rest Countries, which is a simple and free open-source RESTful API. To get started, we need to create the Laravel Saloon Connector:
php artisan saloon:connector Countries CountriesConnector
This will create a new file in app/Http/Integrations/Countries, which will now contain a single class called CountriesConnector. This file will be the base for all CRUD operations on these RESTful API endpoints. It acts as a single place to define any configurations or authentications required to connect to this RESTful API. By default, the file looks like this:
namespace App\Http\Integrations\Countries;

use Saloon\Http\Connector;
use Saloon\Traits\Plugins\AcceptsJson;

class CountriesConnector extends Connector
{
    use AcceptsJson;

    /**
     * The Base URL of the RESTful APIs
     */
    public function resolveBaseUrl(): string
    {
        return '';
    }

    /**
     * Default headers for every REST API request
     */
    protected function defaultHeaders(): array
    {
        return [];
    }

    /**
     * Default HTTP client options
     */
    protected function defaultConfig(): array
    {
        return [];
    }
}
We want to change the resolveBaseUrl method to now return the base URL for our REST API:
public function resolveBaseUrl(): string
{
    return 'https://restcountries.com/v3.1/';
}
For this example, we do not need to do anything more, but for a real-world Laravel third-party API integration, you'll likely need to add some form of authentication. The example API we are calling doesn't require any authentication, but many APIs will.
Making request classes
Now that we have our connector set up, we can make our first request class. Each request class will represent a different endpoint for the API. In this first case, we will make use of the 'All' endpoint on the RESTful API. The full URL is as follows:
https://restcountries.com/v3.1/all
To get started building a new request class, we can once again use the provided artisan commands:
php artisan saloon:request Countries ListAllCountriesRequest
This will generate a new file in app/Http/Integrations/Countries/Requests called ListAllCountriesRequest. This class will interface with an individual endpoint in the example API to return all the countries from the REST API. By default, the file looks like this:
namespace App\Http\Integrations\Countries\Requests;

use Saloon\Enums\Method;
use Saloon\Http\Request;

class ListAllCountriesRequest extends Request
{
    /**
     * The HTTP method of the request
     */
    protected Method $method = Method::GET;

    /**
     * The endpoint for the RESTful APIs
     */
    public function resolveEndpoint(): string
    {
        return '/example';
    }
}
This file works as an independent class for each of the API endpoints provided. In our case, the endpoint will be all, so we need to update the resolveEndpoint method:
public function resolveEndpoint(): string
{
    return 'all';
}
Now that we have our first connector and our first request ready to go, we can make our very first outbound API call with Laravel.
Making API calls using the connector and request
To do an initial test to see if the API is working as expected, let's alter our routes/web.php file to simply return the response to us when we load up the web application.
<?php

use Illuminate\Support\Facades\Route;
use App\Http\Integrations\Countries\Requests\ListAllCountriesRequest;
use App\Http\Integrations\Countries\CountriesConnector;

Route::get('/', function () {
    $countries = new CountriesConnector;
    $allCountriesRequest = new ListAllCountriesRequest;

    $response = $countries->send($allCountriesRequest);
    return $response;
});
Finally, it's time to fire up the local development server. Run the following command:
php artisan serve
Then, visit localhost:8000 in your browser.
We can now see a JSON dump from the API! It’s as easy as that!
So far, we can see that our application can make an API call to https://restcountries.com/v3.1/all and display the results given using two PHP classes. What is really great about this is that the structure of our app remains "The Laravel Way" and keeps each type of API call separate, which allows us to separate concerns in our application.
Our codebase is rather simple, with the following structure:
app
-- Http
--- Integrations
---- Requests
----- ListAllCountriesRequest.php
---- CountriesConnector.php
Adding more requests to the same API is a matter of creating a new Request class, which makes the whole API development experience a breeze. However, we could still take this further.
Making use of data transfer objects
When making API requests, a common problem that you'll eventually encounter is that you will be given data that are not formatted or easily usable within an application. This unstructured data is a challenge to work with, especially as an application grows in complexity and data access becomes less straightforward.
To combat this problem, we can make use of something called a data transfer object (DTO). Doing this will allow us to map the response of our API call to a PHP object that can stand alone. It will prevent us from having to write code that is complicated and hard to maintain. Without DTOs, passing around data from an API inside of a PHP app can look messy and fragile, like this:
$name = $response->json()[0]['name'];
Instead, casting these responses to DTOs will allow us to write code that looks like this, which is a lot cleaner and easier to work with:
$name = $response->name;
Let's dive in and make our response as clean as a whistle. To do this, we will create a new API call on the CountriesConnector to find a country given a name. First, kill the process running the development server. Then, use this command to generate the new request class:
php artisan saloon:request Countries GetCountryByNameRequest
This will generate a new request class, but it needs some work. We'll add a constructor that takes a name variable and then implement the resolveEndpoint method to use that name variable to dynamically build the endpoint. It should look like this:
namespace App\Http\Integrations\Countries\Requests;

use Saloon\Enums\Method;
use Saloon\Http\Request;

class GetCountryByNameRequest extends Request
{

    public function __construct(public string $name)
    {
    }

    /**
     * The HTTP method of the request
     */
    protected Method $method = Method::GET;

    /**
     * The endpoint for the RESTful APIs
     */
    public function resolveEndpoint(): string
    {
        return 'name/' . $this->name;
    }
}
Making use of this GET request is easy, and it can be done simply like this:
$request = new GetCountryByNameRequest('peru');
return $countries->send($request);
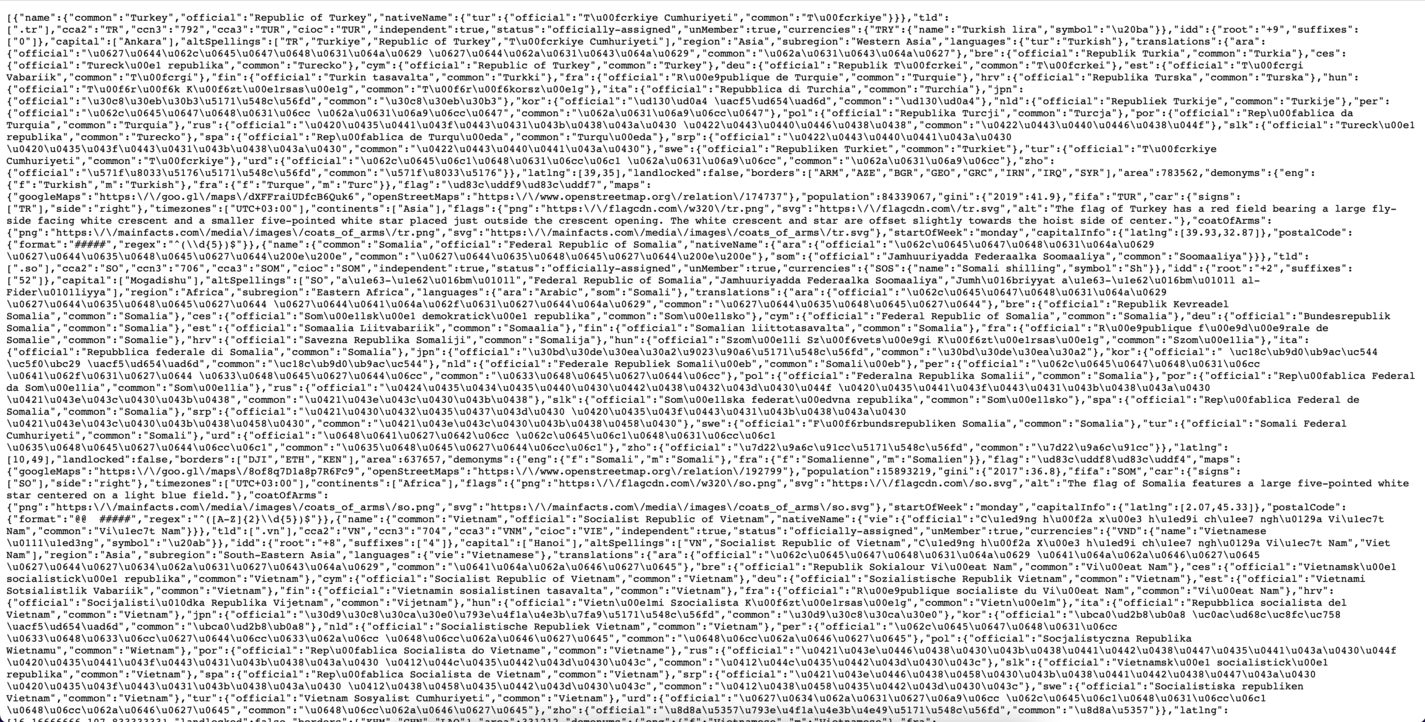
The full body of this response is quite a large JSON object, and the full object can be seen below:

In our next step, we'll take the data above and map it to a DTO to keep things clean and easy to work with.
Casting to DTOs
The first thing we need is a DTO class. To make one of these, simply create a new Class in your preferred location. For me, I like to keep them in app/Data, but you are free to put them wherever works best for your Laravel project.
namespace App\Data;

class Country
{
    public function __construct(
        public string $name,
        public string $officalName,
        public string $mapsLink,

    ){}
}
For this example, we will map these three items to our DTO.
- Name
- Official Name
- Maps Link for Google maps
All of these items are present within our JSON Response. Now that we have our base DTO available and ready to use, we can begin by using a trait and a method on our request. Our final request class will look like this:
namespace App\Http\Integrations\Countries\Requests;

use App\Data\Country;
use Saloon\Enums\Method;
use Saloon\Http\Request;

class GetCountryByNameRequest extends Request
{

    public function __construct(public string $name)
    {
    }

    /**
     * The HTTP method of the request
     */
    protected Method $method = Method::GET;

    /**
     * The endpoint for the request
     */
    public function resolveEndpoint(): string
    {
        return 'name/' . $this->name;
    }

    protected function castToDto(SaloonResponse $response): object
    {
        return Country::fromSaloon($response);
    }
}
From here, we need to make the mapping on our DTO class, so we can add the fromSaloon method onto the DTO itself like this:
namespace App\Data;

use Sammyjo20\Saloon\Http\SaloonResponse;

class Country
{
    public function __construct(
        public string $name,
        public string $officalName,
        public string $mapsLink,

    )
    {}

    public static function fromSaloon(SaloonResponse $response): self
    {
        $data = $response->json();

        return new static(
            name: $data[0]['name']['common'],
            officalName: $data[0]['name']['official'],
            mapsLink: $data[0]['maps']['googleMaps']
        );
    }
}
Now, when we want to make use of our API, we will know what the data will look like when it is returned. In our case, the GET request looks like:
$request = new GetCountryByNameRequest('peru');
$response = $countries->send($request);
$country = $response->dto();
return new JsonResponse($country);
Will return the following JSON object:
{
  "name": "Peru",
  "officalName": "Republic of Peru",
  "mapsLink": "https://goo.gl/maps/uDWEUaXNcZTng1fP6"
}
This is a lot cleaner and easier to work with than the original multi-nested object. This method has a ton of use cases that can be applied directly to it from other classes. The DTO classes can house multiple methods that allow you to interact with the data all in one place. Simply add more methods to this class, and you have all of your logic in one place. This is a nice pattern to follow - if you ever find yourself working with complex data structures that aren't in a class, consider putting that data structure in a class so that your application is easier to maintain.
Laravel API testing using mocked classes
The last point that I would like to cover is probably one of the most painful points for developers. That is, "How to test an API?". No PHP app's testing is complete without some level of API testing. When testing REST APIs, it is normally good practice to ensure that you do not make an actual HTTP request in the test suite, as this can cause all kinds of errors. Instead, what you want to do is use a 'mock' class to pretend that the REST API request was sent.
Let's take a look based on our above example. Using Laravel Saloons built-in testing helpers, we can do a full range of tests by adding the following to our test cases:
use Sammyjo20\SaloonLaravel\Facades\Saloon;
use Sammyjo20\Saloon\Http\MockResponse;
$fakeData = [
            [
                'name' => [
                    'common' => 'peru',
                    'official' => 'Republic of Peru'
                ],
                'maps' => [
                    'googleMaps' => 'https://example.com'
                ]
            ]
        ];
Saloon::fake([
  GetCountryByNameRequest::class => MockResponse::make($fakeData, 200)
]);
(new GetCountryByNameRequest('peru'))->send()
With the above code, we have made a "Mock" of our Request. This means that any time we call the request, regardless of what data are provided, Saloon will always return the response with the fake data. This helps us to know that our requests are working as expected without having to make real API calls to live environments.
With this approach, you can test both failed responses and responses where the data may not be available. This will ensure you have covered all areas of your codebase. For more information on how to do testing, check out the testing documentation for Laravel.
Calling REST APIs from Laravel web applications
Given the scope of how difficult it is to integrate multiple REST APIs in a PHP application, I truly hope that this article has provided a deeper understanding of how Laravel API integrations can be done.
Web development is complex but Laravel has so many amazing packages that make the lives of their developers easier, and Laravel Saloon is an excellent choice. Integrating Rest APIs in a clean and scalable way has never been easier, especially if you follow some of the advice in this article. Casting response data to DTOs and testing your integrations will make it easier to build integrations beyond the samples we've explored in this article.
Editor's note: This post was originally published in May 2023 and has been updated for accuracy.
