Kamal 2: Deploying multiple apps
Deploying more than one web application on a single server used to require a lot of infrastructure fiddling. Docker made this better, but some things that are new in Kamal 2 make deploying containerized applications even easier.
Kamal is a deployment tool from Basecamp that leans on Docker and its own integrated proxy to simplify deploying web apps.
Kamal 2 makes deploying more than one Rails app to the same server easier. In this guide, we'll deploy two simple Rails apps to a single DigitalOcean droplet using Kamal 2. I will use DigitalOcean as an example, but this works for any VPS or bare-metal server.
How to set up a Digital Ocean droplet
First, sign up for a Digital Ocean account. Then create a new "Droplet" - this is their name for a virtual server.
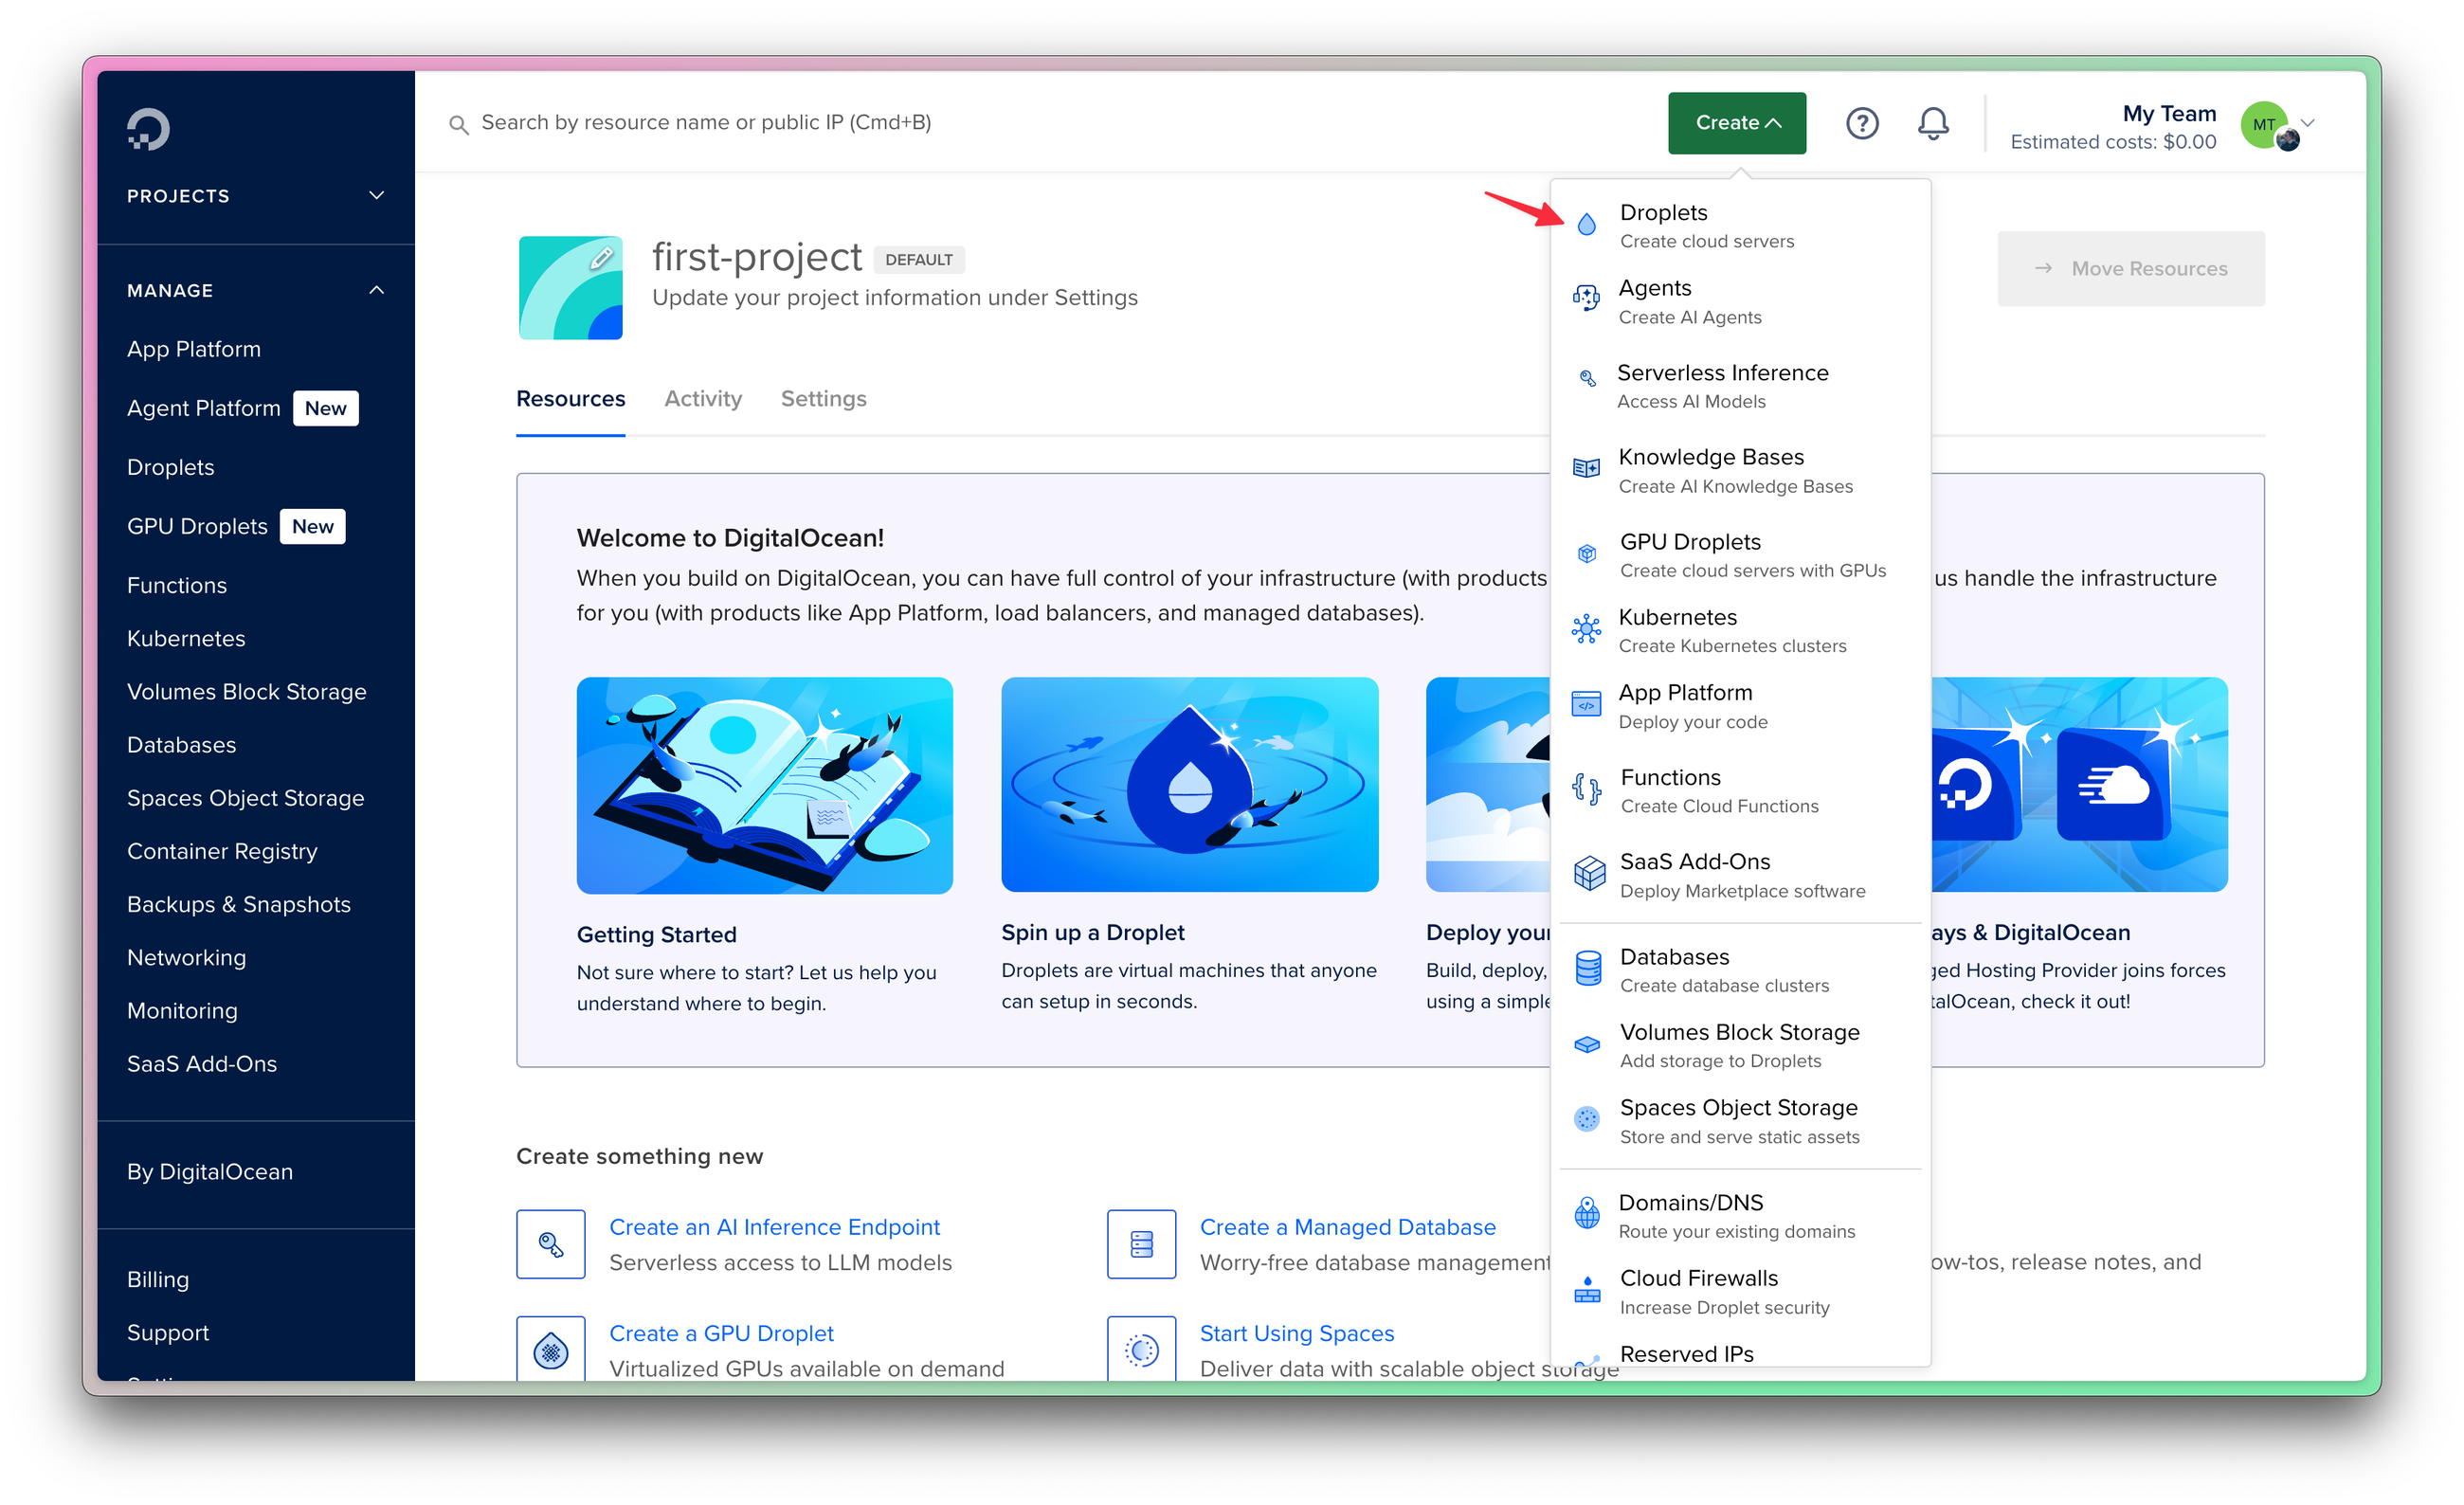
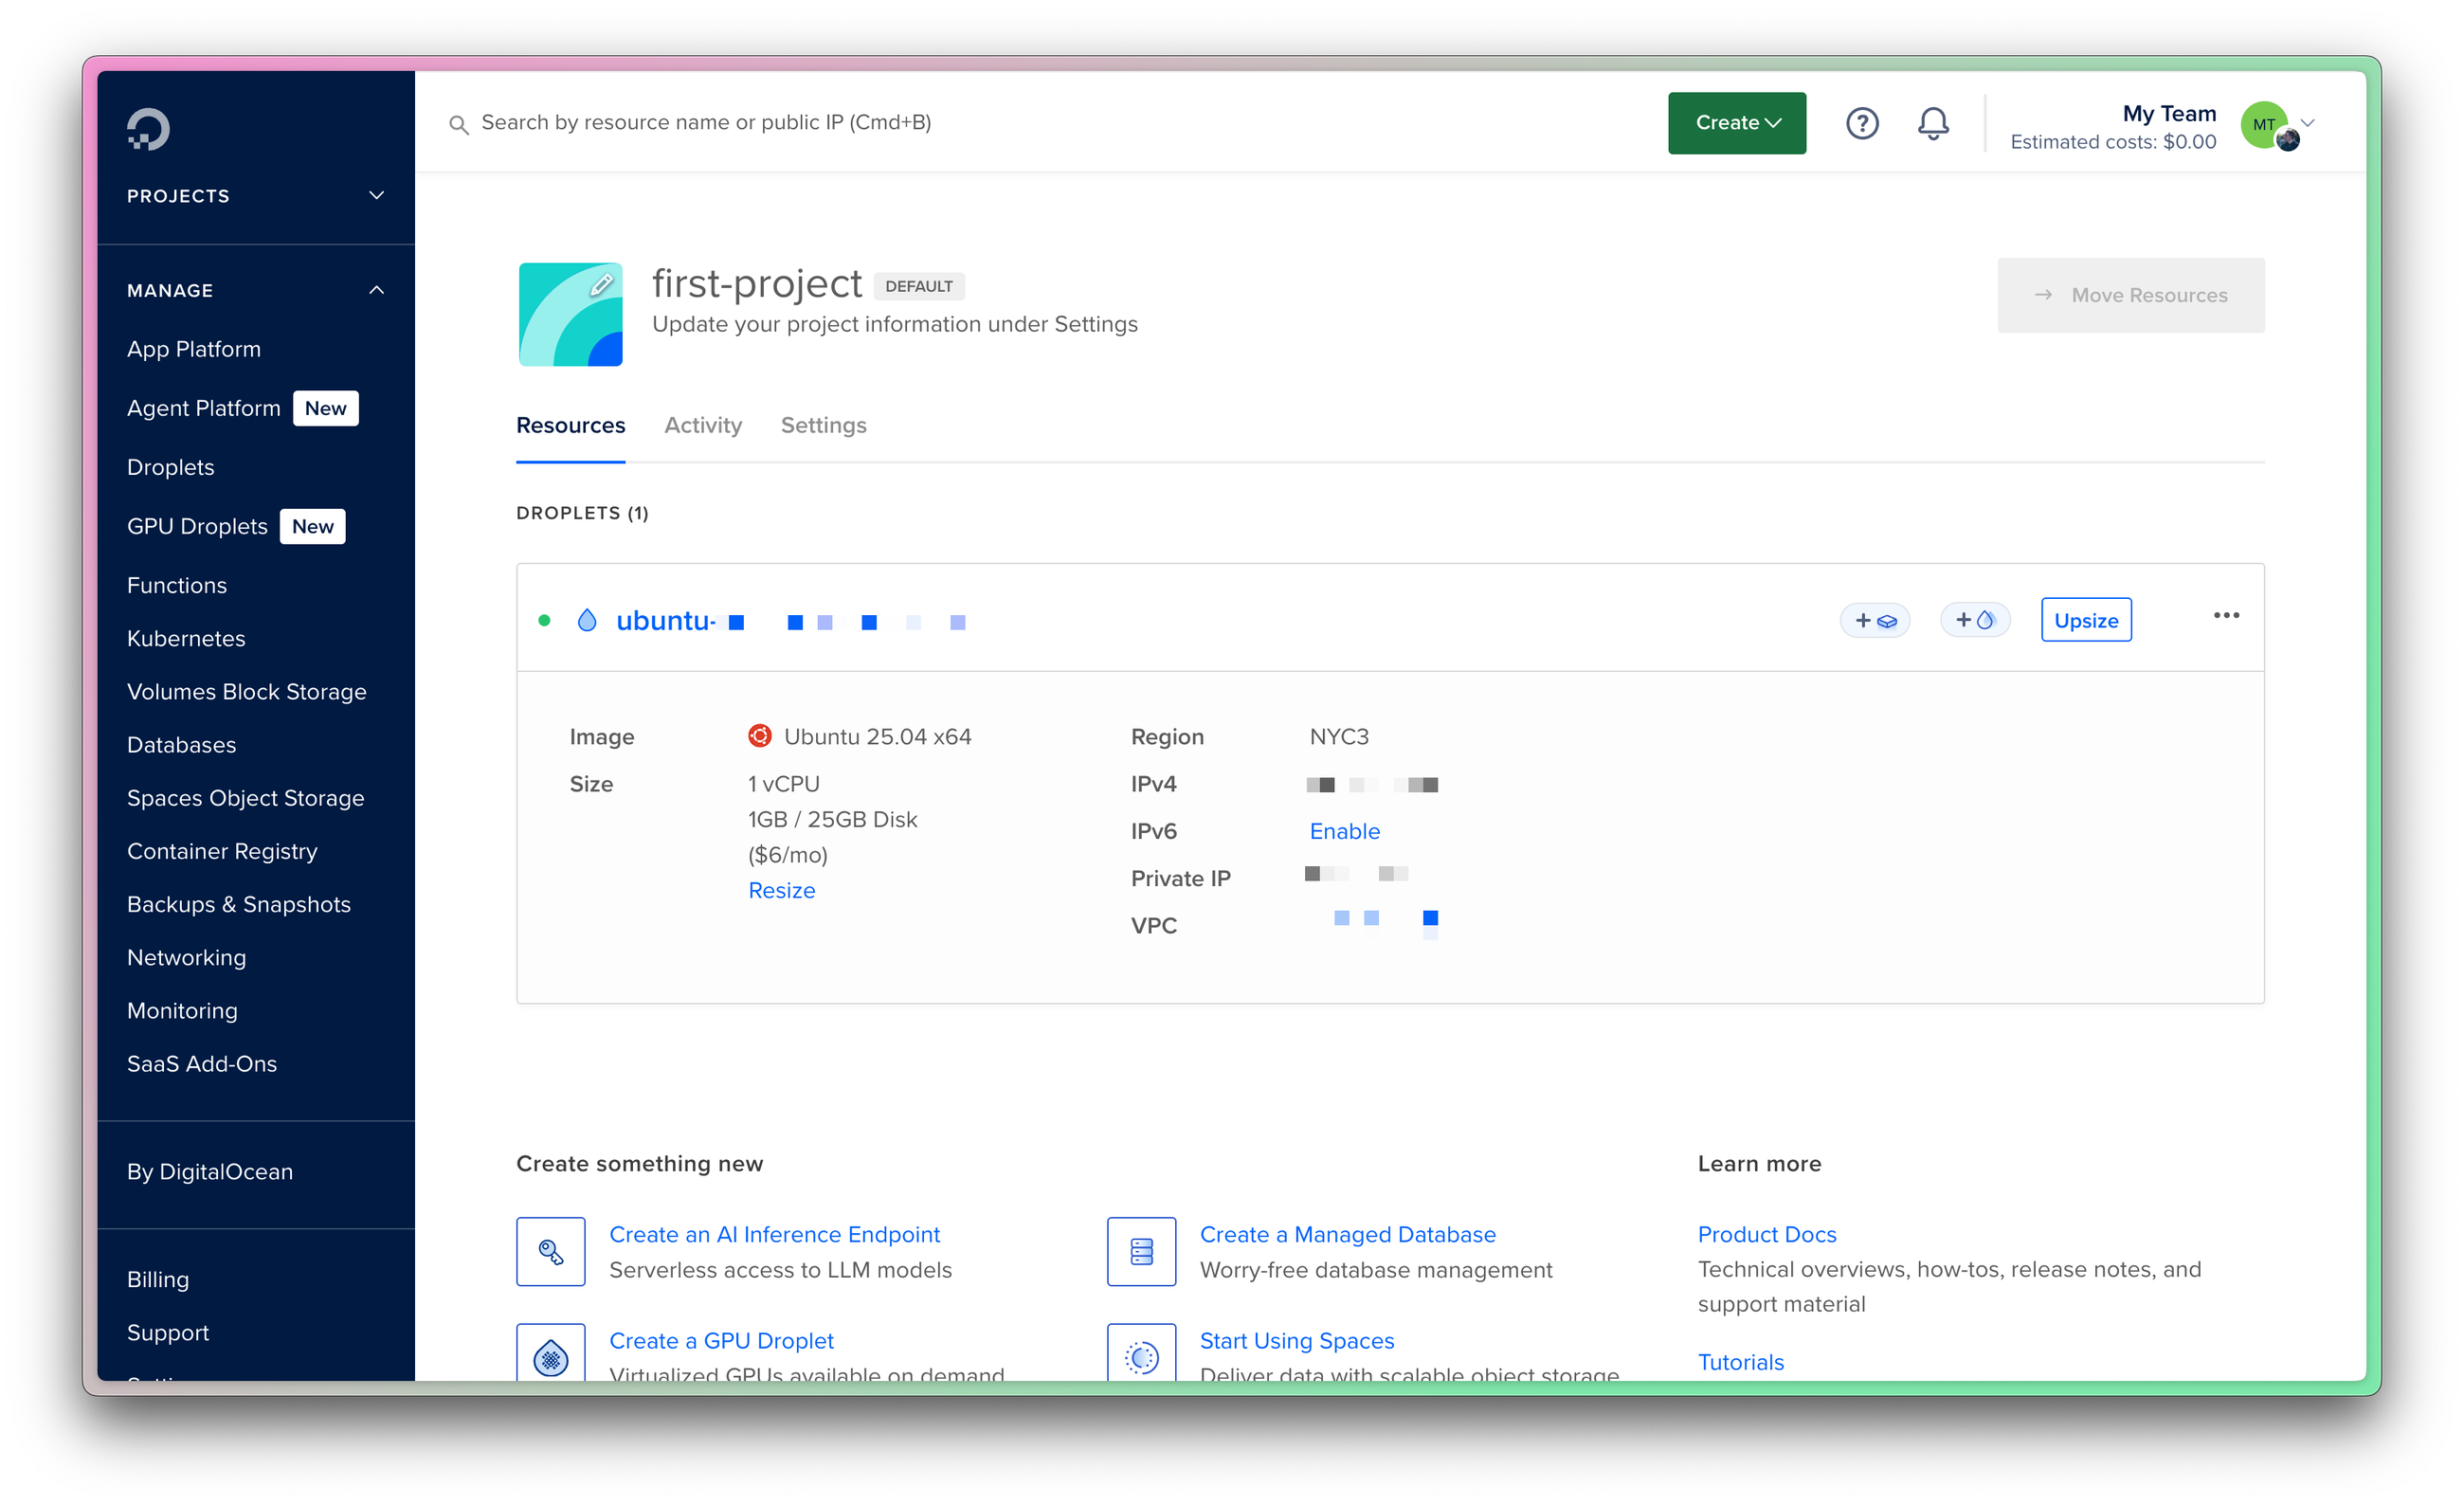
Select your region, your operating system, your droplet size, and create your droplet. Here are the options I went with:
- Region: New York
- Operating system: Ubuntu
- Droplet size: I chose the $6/mo shared CPU option
You'll also need to select or upload your public SSH key so that you can connect to the server later.
Once created, you'll see the details for your new droplet, including the IP address of your server.
Setting up Kamal on an app to deploy to Digital Ocean
For the first web app, we'll deploy a fresh Rails 8 app that already has Kamal by default.
Rails 8 apps ship with Kamal, so you don't need to install the Ruby gem. You just need to configure Kamal to work with your server and your Docker registry.
In config/deploy.yml, you'll want to first set the server IP address away from the default. It's towards the beginning of the file. Set it to the IP address of your droplet and also set your Docker Hub username in the image section:
# Name of your application. Must be unique.
service: job_application_app

# Name of the container image.
image: your-user/job_application_app # CHANGE THIS

# Deploy to these servers.
servers:
  web:
    - 192.168.0.1 # CHANGE THIS
  # job:
  #   hosts:
  #     - 192.168.0.1
  #   cmd: bin/jobs
Next, set up the proxy with the appropriate domain (still in config/deploy.yml. This is important for running two apps on a single host:
proxy:
  ssl: true
  host: jobtracker.augmentedswe.com
Next, we'll set up our container registry. If you don't already have one, create an account on Docker Hub. Create a new repository there that will hold the Docker images as an interim step.
Then, configure the registry (still in config/deploy.yml). Use the username you signed up with, but leave the password alone—we'll pass it in as an environment variable later:
# Credentials for your image host.
registry:
  # Specify the registry server, if you're not using Docker Hub
  # server: registry.digitalocean.com / ghcr.io / ...
  username: your-user # SWAP THIS

  # Always use an access token rather than real password when possible.
  password:
    - KAMAL_REGISTRY_PASSWORD #LEAVE THIS
Next, configure one local environment variable, KAMAL_REGISTRY_PASSWORD. Create a new access token in your Docker Hub account settings and enter it as the value:
export KAMAL_REGISTRY_PASSWORD="your-token-here"
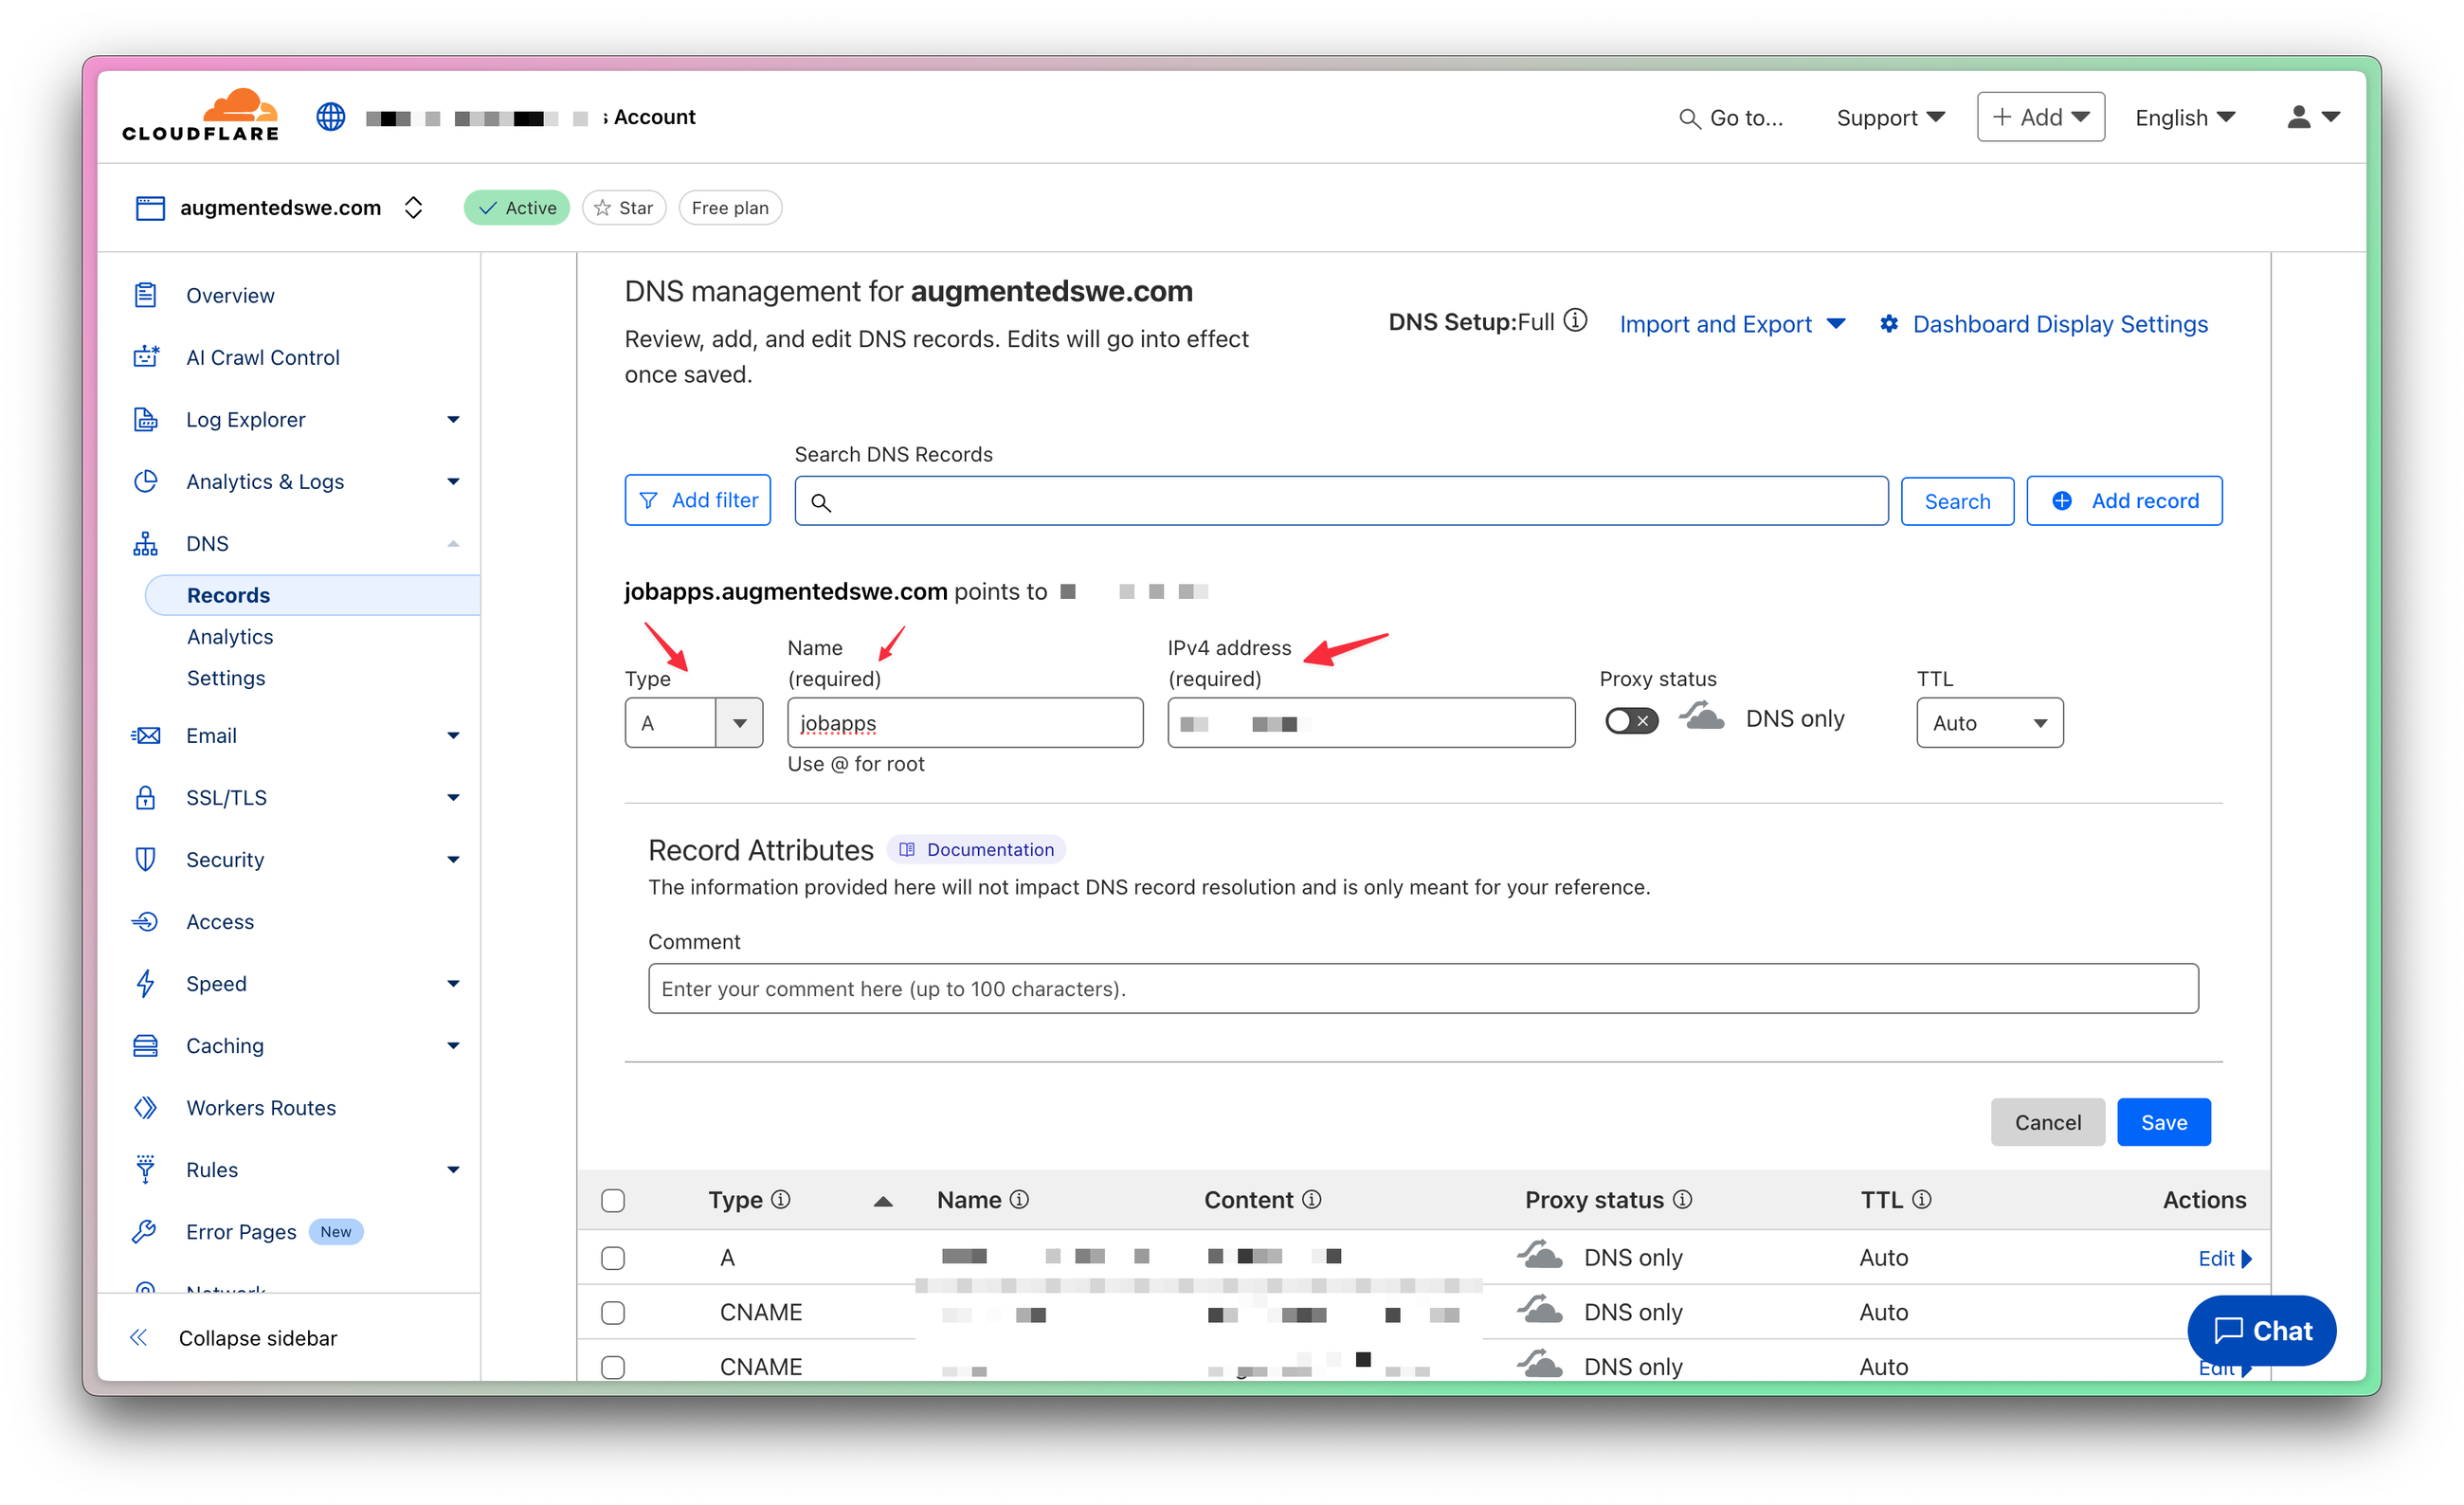
The next thing we'll do is configure DNS for our project. I set up a subdomain for this project by adding a new A record to the domain, using jobapps as the subdomain and the IP address from our Digital Ocean droplet that hosts both web apps.
At this point, we're ready to run kamal setup to do the automated initial server setup.
First—and this is critical—commit all your changes. Kamal uses the latest commit hash for image names, and if you don't commit, your first deploy may ship an old image. This cost me many hours. 😬
Finally, run the following command:
kamal setup
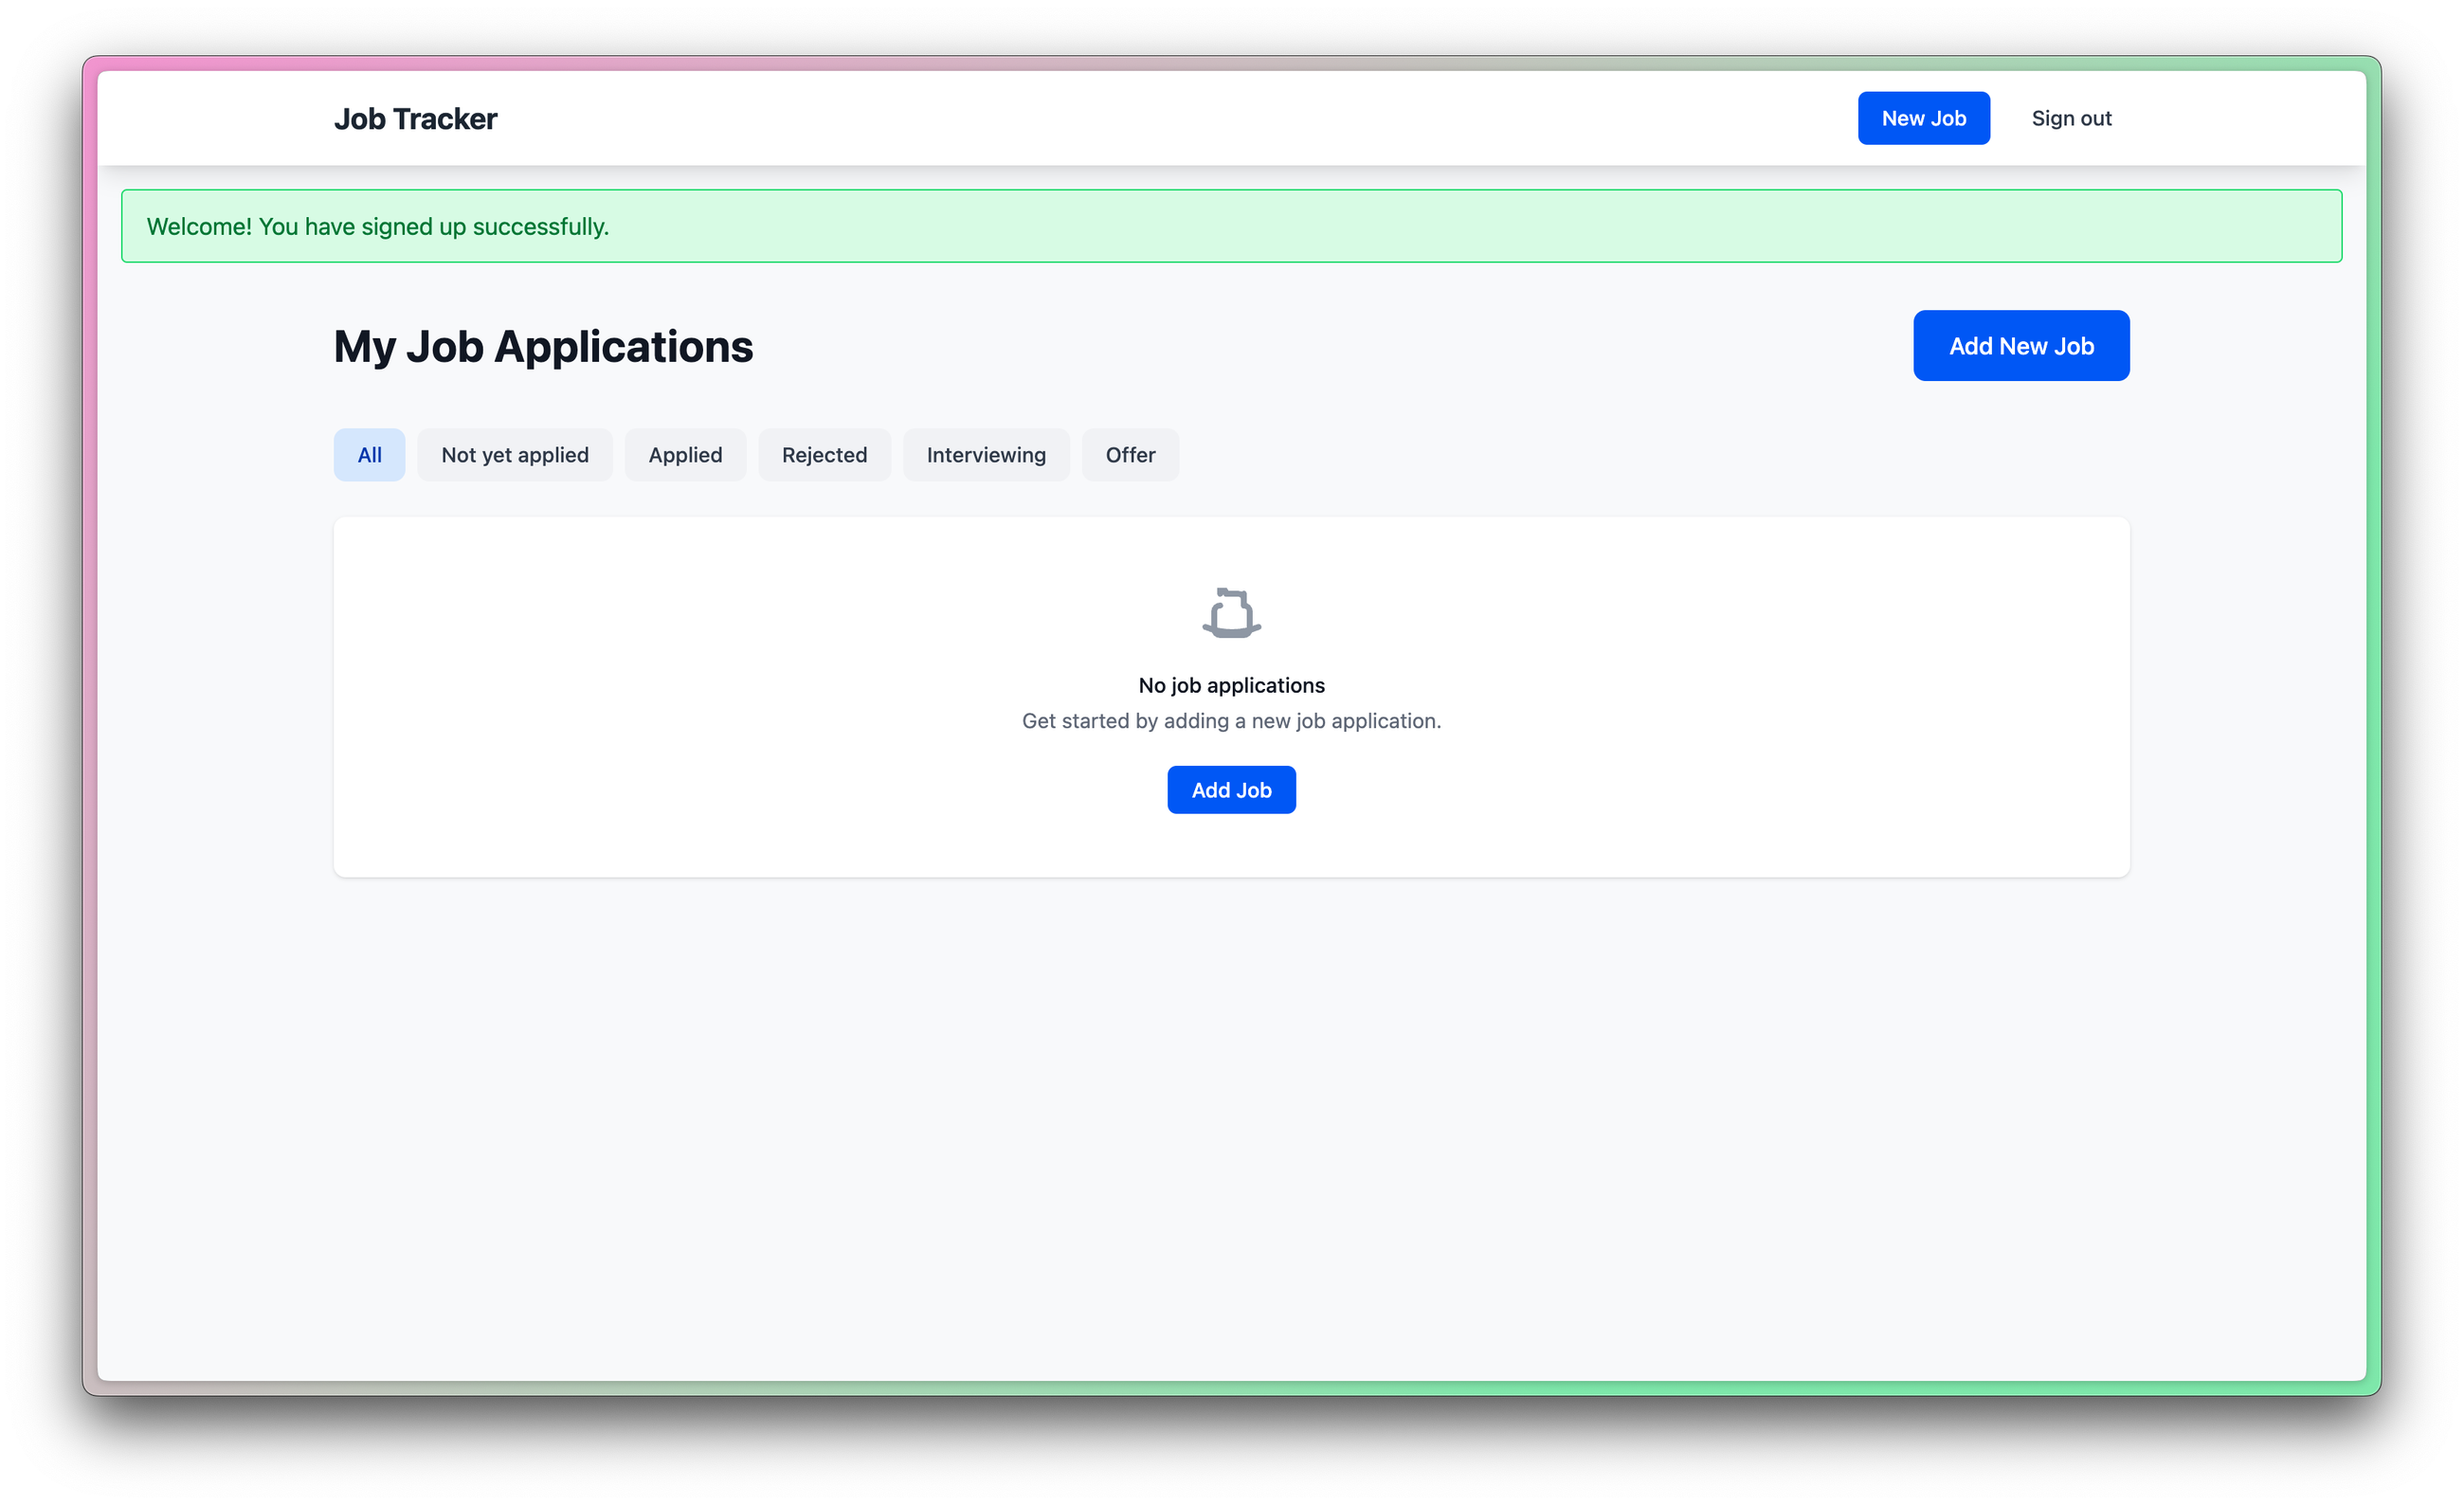
This step will take some time, much longer than a kamal deploy, which will come shortly. Your app should now be live at your domain!
If you have any problems, you can SSH to your server and check the Docker logs to track them down. For changes and future deploys, commit your changes and then run kamal deploy.
Setting up Kamal for a second app on the same server
For this example, I will assume you already have your app configured to run in Docker., but not with Kamal. Start by adding the Gem to your Rails project:
gem install kamal
Then, run:
kamal init
Next, edit config/deploy.yml following the same instructions as above. Use the same settings, except for the domain/subdomain that you configure with your domain provider. My config looks like this:
# Name of your application. Must be unique.
service: engineering-trainings

# Name of the container image.
image: morhousjeff/engineering-trainings

# Deploy to these servers.
servers:
  web:
    - # ADD THE IP ADDRESS OF YOUR SERVER HERE
  # job:
  #   hosts:
  #     - 164.92.95.189
  #   cmd: bin/jobs

# Enable SSL auto certification via Let's Encrypt and allow for multiple apps on a single web server.
# Remove this section when using multiple web servers and ensure you terminate SSL at your load balancer.
#
# Note: If using Cloudflare, set encryption mode in SSL/TLS setting to "Full" to enable CF-to-app encryption.
proxy:
  ssl: true
  host: trainings.augmentedswe.com # CHANGE THIS
  # Proxy connects to your container on port 80 by default.
Once you swap out your host and IP, commit your changes and run:
kamal setup
Remember that for both web apps, you can deploy updates by making a commit followed by kamal deploy.
What else is new in Kamal 2?
The ability to deploy multiple apps to one server isn't the only new thing in Kamal 2. Kamal Proxy, which replaces Traefik, is what enables the multi-app feature. Kamal Proxy also supports canary deploys and even a maintenance mode.
Kamal 2 also comes with automatic HTTPS via Let's Encrypt and the ability to create aliases for Kamal commands. It even added better secret management, allowing you to use password managers for secrets.
Some things to keep in mind
Kamal 2's new proxy can be tricky. Be sure that the port your Dockerfile exposes is either the Kamal default of 80 or that you override it in config/deploy.yml.
Also, be sure you have enough RAM on your single server if you're running into deploy timeouts. The system could go into swap during a deployment, which would be too slow, causing the deployment to time out.
Infrastructure is hard, but managing your own servers can be rewarding! Here's one last consideration: monitoring. You want to learn about errors and other production issues before your users do. Honeybadger is by far the best way to ensure your users have a great experience in production. Go sign up for a 30-day free trial—you'll be glad you did.

Written by
Jeffery MorhousJeff is a Software Engineer working in healthcare technology using Ruby on Rails, React, and plenty more tools. He loves making things that make life more interesting and learning as much he can on the way. In his spare time, he loves to play guitar, hike, and tinker with cars.