How to Add Exception Monitoring to FastAPI
"Errors should never pass silently" is easy to say, but complicated to achieve. A robust application needs a powerful monitoring system to control, debug errors, and promptly alert you when something goes wrong. These are the problems Honeybadger is dedicated to solving.
Honeybadger is a universal platform for error, uptime, and check-in monitoring, combined in a single, powerful application. By including it in your production stack, you will be able to keep track of all the exceptions occurring in your programs, constantly monitor their health status, and know when your background jobs and services go missing or silently fail.
When it comes to error monitoring, a lot of ground is covered by web applications. FastAPI is a micro web framework with increasing popularity in the Python community. It embraces all the modern features added to Python in recent years, such as type hinting and async support, and leverages this power by giving you a lot of flexibility and features, such as automatic and interactive documentation, mixed sync/async support, and built-in type-checking.
In this article, we will explore some of the features that Honeybadger has to offer, in particular its support of the Python language and some of the ways you can use it to monitor your web applications, with a special focus on FastAPI.
Set Up
Like many other tools, Honeybadger comes with support for a wide range of programming languages, including Ruby, JavaScript, Go, and many others. Getting access to the official Python APIs is as easy as installing the official Honeybadger Python package. This can be done with the usual command:
pip install honeybadger
For a more comprehensive overview of all the features offered by this library, you may want to check out the documentation. However, for a basic setup, all we need to do is use the honeybadger.configure method, along with some configuration. We can do this in literally two lines of code:
from honeybadger import honeybadger

honeybadger.configure(environment="development")
What this is doing for us under the hood is wrapping any existing exception hooks so that a notification can be sent to the Honeybadger dashboard when an error occurs.
Let's write a "buggy" script to put it into practice:
import logging

from honeybadger import honeybadger

logging.basicConfig(level=logging.INFO)  # set up logging.

honeybadger.configure(environment="development")

if __name__ == "__main__":
    1 / 0
We're working in a development environment here, so we get a log message telling us that the exception is not being sent to the monitoring system.
For a fully working example, we can sign up for a free Honeybadger account and be up and running in less than 30 seconds.
After creating a new project, we'll be provided with an API token. The honeybadger library will look for a HONEYBADGER_API_KEY environment variable holding the value of this token, or we can choose to declare it directly to the honeybadger.configure call as an alternative.
There are various ways to export environment variables, but if you're on Linux, you can use the following command:
export HONEYBADGER_API_KEY=SomeApiToken
However, you may also choose to declare the api_key directly in your code:
from honeybadger import honeybadger

honeybadger.configure(api_key="this-overrides-SomeApiToken")
Head over to the documentation for a full list of environment variables and parameters available for configuring Honeybadger.
Now we're all set for a fully working example. Run this code to see it in action:
from honeybadger import honeybadger

honeybadger.configure(api_key="<your-api-key>")

1 / 0
Sending notifications explicitly
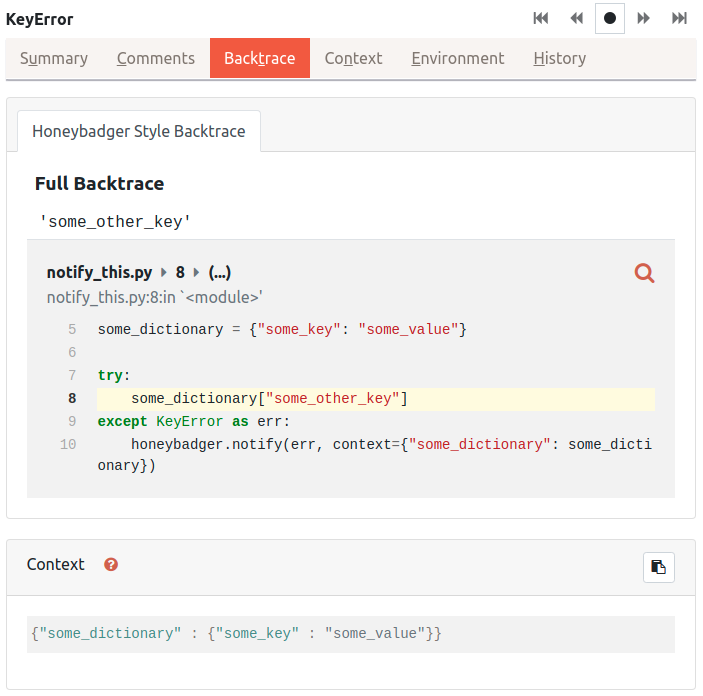
There are situations in which we will need to send notifications directly. This is the case of a try/except statement where we may want to handle exceptions but get a notification when they occur. For these cases, we can use a honeybadger.notify method to explicitly send our notifications.
from honeybadger import honeybadger

honeybadger.configure()

some_dictionary = {"some_key": "some_value"}

try:
    some_dictionary["some_other_key"]
except KeyError as err:
    honeybadger.notify(err, context={"some_dictionary": some_dictionary})
We make use of the optional context parameter to pass additional context that may be useful for debugging, replicating, or identifying the exception from the dashboard.
So far, we've seen how easy it is to integrate Honeybadger into any Python program. Let's see how we could use this to set it up in the context of a web application.
FastAPI
![]()
FastAPI is a modern, fast web framework for building APIs with Python 3.6+. Some of its best features include speed and serialization/deserialization standards that will give you Swagger interactive documentation out-of-the-box. Moreover, you will be able to mix your sync and async code within the same application.
To set it up, we can install it as follows:
pip install fastapi
Create a main.py application file:
###
# main.py
from fastapi import FastAPI
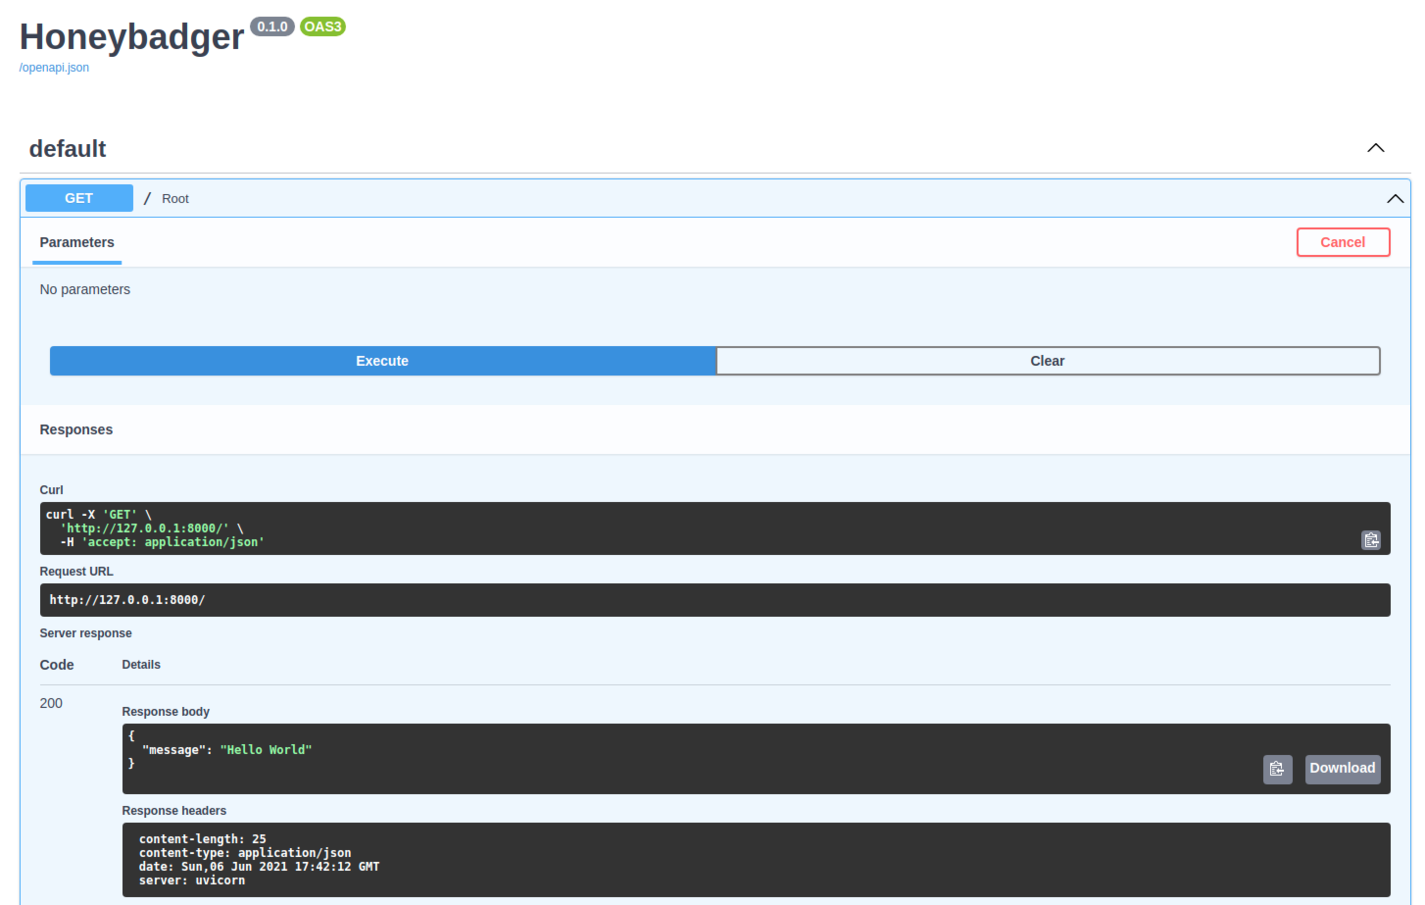
app = FastAPI(title="Honeybadger")
@app.get("/")
async def root():
return {"message": "Hello World"}
And run it as a web server:
pip install uvicorn && uvicorn main:app --reload
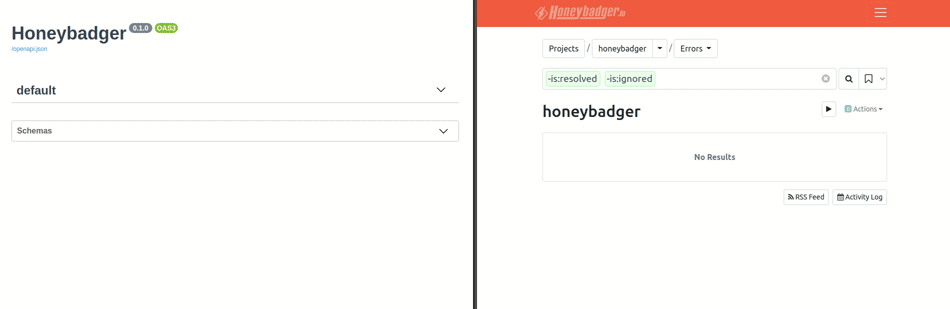
Let's point our browser to http://localhost:8000/docs to get the full benefits of the interactive documentation.
Middleware
One of the great things about FastAPI is its dependency injection system and the ability to create middleware to enrich your application with custom behavior while handling each request.
In particular, this gives us the opportunity to catch any exceptions raised by our application and notify our monitoring system.

A middleware, in our context, is a simple asynchronous function with two parameters:
- A
requestobject, that will include the request data being sent. - A
call_nextcallable that will let us call the following step on the request-handling chain.
We will use the @app.middleware decorator to register our middleware to the application:
@app.middleware("http")
async def honeybadger_middleware(request, call_next):
try:
await call_next(request)
except Exception as err:
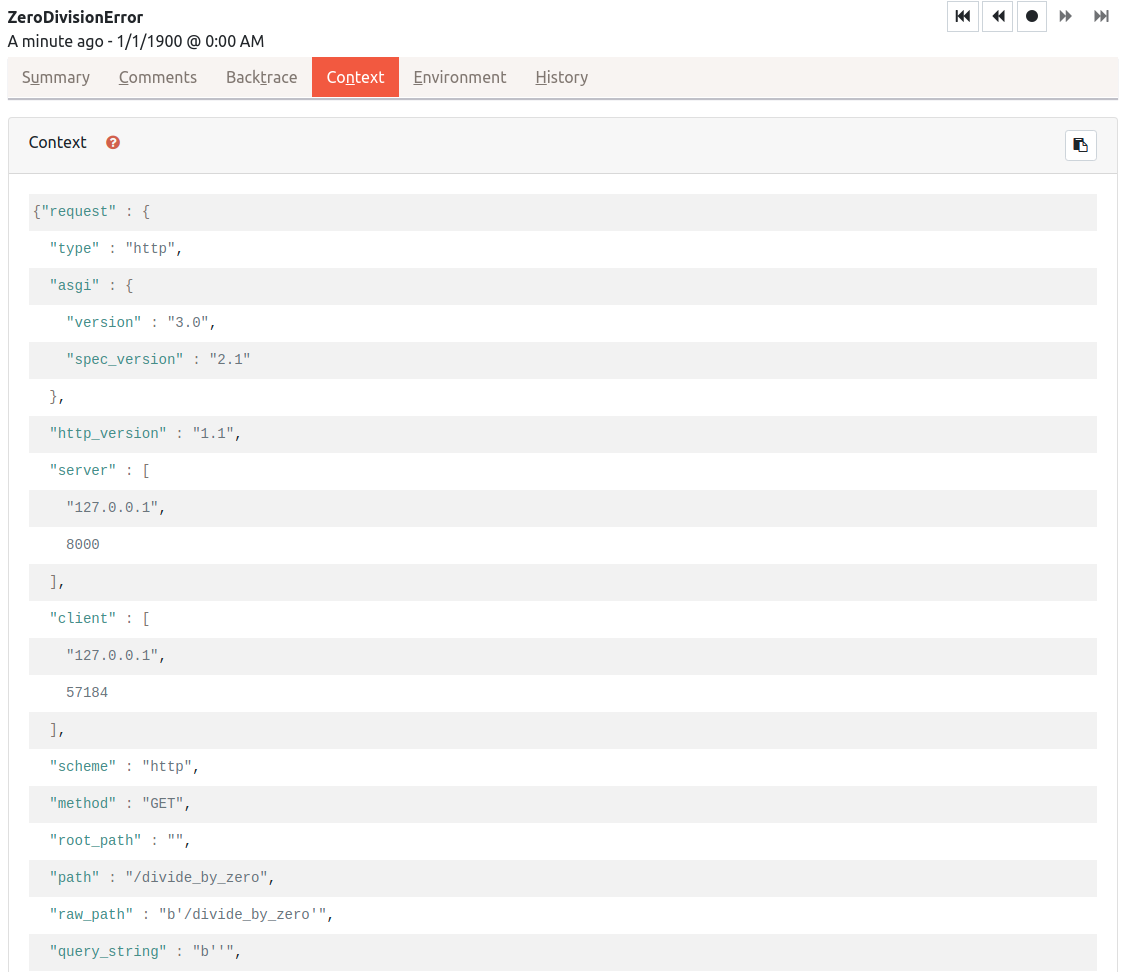
honeybadger.notify(err, context={"request": request})
raise err
What we're doing here is trying to continue with the resolution of the incoming request and notify any errors bubbling up before allowing the exception to continue its way up to FastAPI's default exception handling system, which is in charge of returning default JSON responses every time an HTTPException is raised or when the request has invalid data.
All that's left to do is include a failing route in our application to test our monitoring system:
@app.get("/divide_by_zero", response_model=int)
def divide_by_zero(a: int = 42):
    """Will try to divide `a` by zero."""
    return a / 0
The updated main.py file should look like this:
###
# main.py

from honeybadger import honeybadger
from fastapi import FastAPI

"""
Step 0: configure Honeybadger.
> Tip: configuring it before anything else lets us catch any errors that could be raised *before* the application gets executed.
"""
honeybadger.configure()


app = FastAPI(title="Honeybadger")

"""
Step 1: implement and register the middleware.
"""
@app.middleware("http")
async def honeybadger_middleware(request, call_next):
    try:
        response = await call_next(request)
    except Exception as err:
        honeybadger.notify(err, context={"request": request})
        raise err
    return response


@app.get("/")
async def root():
    return {"message": "Hello World"}


"""
Step 2: add some failing code.
"""
@app.get("/divide_by_zero", response_model=int)
def divide_by_zero(a: int = 42):
    """Will try to divide `a` by zero."""
    return a / 0
Now let's head over to our failing route http://localhost:8000/divide_by_zero (or the Swagger UI), let our code fail, and get a full error report inside our Honeybadger Dashboard!
Wrapping up
We've seen how easy it is to integrate Honeybadger into any of your Python applications or FastAPI servers.
We know that it may still look like too much effort, so we've thought of including native ASGI support in our library. What this means is that you can do all the above in just one line of code, for any application supporting the ASGI standards, just like FastAPI, Starlette, Uvicorn, and many more.
This approach lets us replace our middleware implementation with a app.add_middleware call that will register the contrib.ASGIHoneybadger plugin instead:
from fastapi import FastAPI
from honeybadger import honeybadger, contrib

honeybadger.configure()
app = FastAPI(title="Honeybadger")
app.add_middleware(contrib.ASGIHoneybadger)  # ⚡

@app.get("/")
async def root():
    return {"message": "Hello World"}


@app.get("/divide_by_zero", response_model=int)
def divide_by_zero(a: int = 42):
    """Will try to divide `a` by zero."""
    return a / 0
You're done. Pretty straightforward, isn't it? ✨
Check out the official documentation for any configuration details or advanced usage.
Happy coding!

Written by
Stefano Frassetto
Stefano is a machine learning engineer. He loves learning new things and making music.