Send a bearer token with Honeybadger Webhooks
Many automation platforms, API gateways, and internal services reject any request that doesn't include an Authorization: Bearer header. Honeybadger webhooks send a Honeybadger-Token header for verification, but those receivers turn the request away before they ever check it.
Cursor Automations is one example: point a Honeybadger webhook at one and every request comes back with a 401: Missing Authorization header. Use Authorization: Bearer <key>.
Our Webhook integration has a new Bearer token field. Set it, and every request Honeybadger sends includes:
Authorization: Bearer your-token
The Honeybadger-Token header is still sent, so any verification you already do keeps working. The token is encrypted at rest and masked when you reopen the form. It’s also optional — you can use it only for the services that need it.
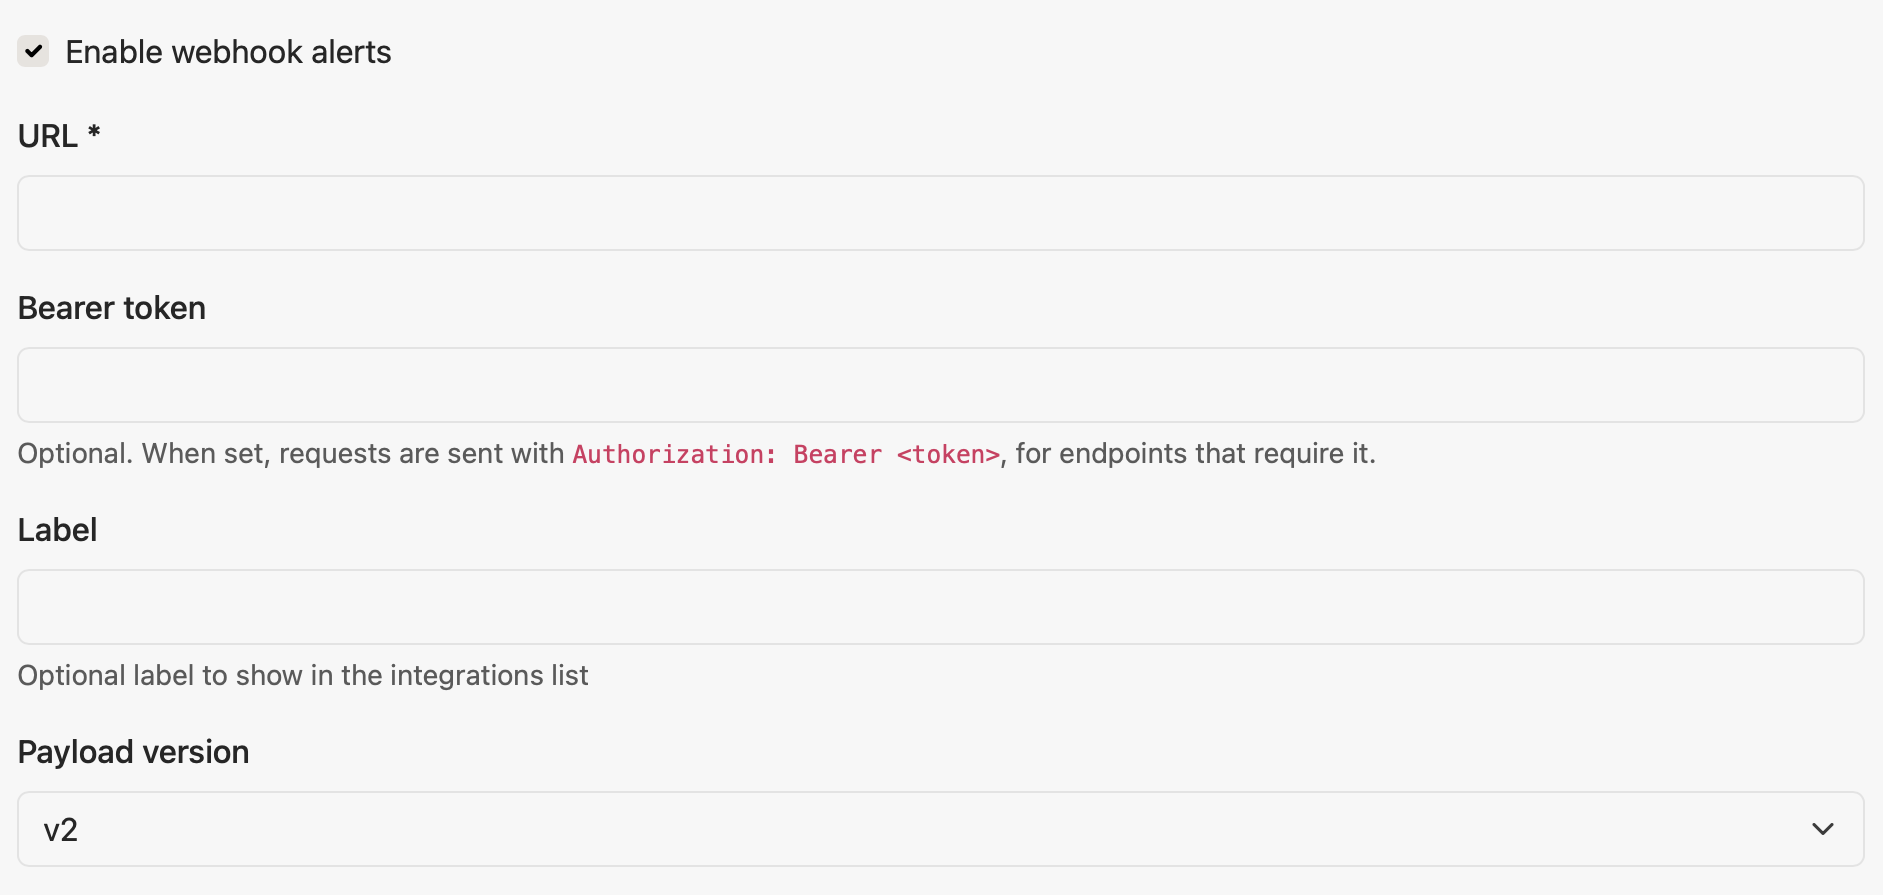
- Go to your project's Settings → Alerts & integrations and add a Webhook integration, or edit an existing one.
- Enter the receiver's key in the Bearer token field.
- Save, then click Test integration to confirm the receiver accepts the request.
See the Webhook integration guide for the full payload reference.
Try Honeybadger for FREE
Honeybadger is full-stack application monitoring that helps developers move fast and fix things. Get set up in minutes and check monitoring off your to-do list.
Easy 5-minute setup — No credit card required