Exploring Rails Action Cable with Solid Cable
Real-time features are becoming increasingly important in web applications, but not every Rails developer is familiar with Action Cable, the framework's built-in WebSocket library.
Rails Action Cable has long supported web sockets, but comes with some additional complexity. Rails 8 introduces Solid Cable, a new database-backed adapter for Action Cable that eliminates the need for Redis. In this guide, I'll walk you through Action Cable by way of Solid Cable and show you how to build a real-time feature. You'll see how easy it is to add real-time functionality to a Rails 8 app without bothering with Redis.
I'd encourage you to follow along and build the app with me, but you're welcome to check out the finished project on GitHub.
Why use Rails Action Cable?
Modern web apps often need to push updates to clients in real time. Some obvious examples include chat messages appearing instantly or live dashboard notifications. Action Cable is Rails' built-in solution for integrating WebSockets into your app, enabling two-way, persistent communication between the server and the client. I'm personally grateful for Action Cable as part of the Rails framework, as it supports the overall theme of giving you everything you need for a genuinely useful web app. Using Action Cable means the server can send data to the browser without the browser explicitly requesting it (no user-prompted refresh!).
With Action Cable and WebSockets, your Rails app can provide live interactive features that were historically hard to implement in a server-rendered app. Some everyday use cases for this are:
- Live chat applications
- Notifications and feeds
- Collaborative apps with live updates
- Live sports or stock tickers
In short, Action Cable bridges the gap between the traditional request-response cycle and real-time event-driven updates. On the client side, Rails provides a JavaScript consumer to subscribe to channels and receive broadcasts. As the developer, you interact with Action Cable by defining backend channels (similar to controllers, but for real-time streams) that front-end clients can subscribe to.
What is Solid Cable then?
If you've used Action Cable in earlier Rails versions, you might know that in production it typically relies on Redis (or PostgreSQL's NOTIFY ) to broadcast messages across different server processes. The pub/sub service (often Redis) ensures that a message from one Rails process gets delivered to all the other processes so they can forward it to their connected WebSocket clients. This added infrastructure has historically been a requirement to use Action Cable at all.
Solid Cable, introduced in Rails 8, replaces the need for an external pub/sub service like Redis by using your existing database as the backend. Solid Cable is a database-backed adapter for Action Cable, much like Solid Queue for Active Job and Solid Cache for Active Cache. Each incoming WebSocket message is written to a database table, and all Action Cable instances poll that table for new messages to broadcast out to clients. This happens very quickly (by default, every 100 milliseconds), giving near real-time performance. The messages are stored for only a short time (24 hours by default) before being pruned, so you can debug recent issues without worrying about database space.
Overall, Solid Cable fits into Rails 8's philosophy of the "Solid Trifecta", which is a complete set of built-in, database-backed features for caching, background jobs, and real-time messaging. With Solid Cable, you have the final piece to run jobs, caching, and WebSockets all through your database.
Building a Rails 8 app with Solid Cable
You're probably curious to get hands-on with Solid Cable, so let's walk through adding it to a Rails 8 application and building a minimal chat room where multiple users can exchange messages in real time.
Making an example app
You'll learn Action Cable's fundamentals (channels, subscriptions, broadcasting) while using Solid Cable as the backend. We're going to use Rails 8 for this example, so go ahead and create a new Rails app with:
rails _8.1.0_ new solid_cable_chat --database=sqlite3
Then, cd into the new solid_cable_chat directory.
Since you used Rails 8, you won't need to add Solid Cable or any other gems to get rolling. Most or all of the config will be there for you. I'll walk you through all of it in case you're coming from an older version of Rails.
Configuring Solid Cable
We'll start by running the Solid Cable setup:
bin/rails solid_cable:install
This generator does two main things. It creates a config/cable.yml configuration file that sets Solid Cable as the cable adapter. It also creates a db/cable_schema.rb file, which contains the database schema definition for Solid Cable's messages table. Recent versions of Rails also create these files automatically when running rails new.
Next, we need to configure our database settings for Solid Cable. By default, Rails uses a separate database for Solid Cable to isolate real-time messaging data from the rest of your data. In development, you can either use the same database or set up a separate one. I'll walk you through how to use a separate SQLite database for Solid Cable in development. This means adding a new "cable" database connection.
Setting up your database for Solid Cable
Open the config/database.yml file. In the development section, add a cable database. For example, if you're using SQLite (the Rails default for dev):
development:
  primary:
    <<: *default
    database: storage/development.sqlite3
  cable:
    <<: *default
    database: storage/development_cable.sqlite3
    migrations_paths: db/cable_migrate

production:
  primary:
    <<: *default
    database: storage/production.sqlite3
  cache:
    <<: *default
    database: storage/production_cache.sqlite3
    migrations_paths: db/cache_migrate
  queue:
    <<: *default
    database: storage/production_queue.sqlite3
    migrations_paths: db/queue_migrate
  cable:
    <<: *default
    database: storage/production_cable.sqlite3
    migrations_paths: db/cable_migrate
Again, if you're on a recent enough version of Rails, this config will already be there.
Now open config/cable.yml. Solid Cable should already be the default adapter in production. We want to enable Solid Cable in development as well (so we can test our chat in localhost). Edit cable.yml to use the solid_cable adapter in development and point it to the cable database we just configured:
development:
  adapter: solid_cable
  connects_to:
    database:
      writing: cable
  polling_interval: 0.1.seconds
  message_retention: 1.day

test:
  adapter: test

production:
  adapter: solid_cable
  connects_to:
    database:
      writing: cable
  polling_interval: 0.1.seconds
  message_retention: 1.day
In the above cable.yml, we set the development adapter to solid_cable and copied the settings from the production setting. The connects_to setting tells Action Cable to use the cable database (as defined in database.yml) for storing messages. You'll need to make this change even on a recent version of Rails.
For small apps, you may use the same primary database to hold Solid Cable's table (by copying the schema into a migration and removing the separate DB config). But using a separate database is recommended to avoid any potential performance interference with your primary app data.
Finally, run rails db:prepare to ensure the database is ready. You'll also need to do this in production if you're shipping your app.
Setting up an Action Cable channel
Action Cable operates through channels, which are Ruby classes that handle streams of data. This is somewhat similar to controllers handling HTTP requests. Let's create a channel for our chat feature. We'll call it UserChatChannel. Use the generator:
rails generate channel UserChat
Open up the generated app/channels/user_chat_channel.rb, and update it to contain new logic.
When a client subscribes to UserChatChannel (by opening the chat page), the subscribed callback is invoked. We want to call stream_from "user_chat_channel" in this callback to start streaming from a broadcast named "user_chat_channel".
Essentially, we're saying "listen for any data broadcast to the user_chat_channel stream and pass it to this channel's clients." All users subscribed to this channel will receive message broadcasts to "user_chat_channel".
We also want to define a custom action, we'll call it talk(data). Any public method in a channel can be invoked from the client side. In this case, when the client calls perform("talk", { content: "Hello World" }), the talk method executes on the server.
Our implementation of talk takes the message content sent by the client and uses ActionCable.server.broadcast to send it out to everyone subscribed to "user_chat_channel". This means every subscriber (including the sender) will receive the message data in real time. We simply broadcast a hash containing the message text; you could include other info (like a username or timestamp) as needed. Note: In a real app, you might also persist the message to a database or perform validations here. For simplicity, we're just broadcasting it.
class UserChatChannel < ApplicationCable::Channel
  def subscribed
    stream_from "user_chat_channel"
  end

  def unsubscribed
    # Any cleanup needed when unsubscribing from the channel
  end

  def talk(data)
    message = data["content"]
    ActionCable.server.broadcast("user_chat_channel", { content: message })
  end
end
Building a consumer of our channel in the client
Now that we've built the backend, we need to hook up the front-end so that users can send and receive messages through the WebSocket to demonstrate the real-time functionality.
Rails 8 comes with Action Cable's JavaScript stuff baked in. The generator created a app/javascript/channels/user_chat_channel.js file for us. We'll implement the client behavior there next.
Open app/javascript/channels/user_chat_channel.js and update it to:
import consumer from "channels/consumer";

const userChatChannel = consumer.subscriptions.create("UserChatChannel", {
  connected() {
    console.log("Connected to UserChatChannel.");
  },

  disconnected() {
    console.log("Disconnected from UserChatChannel.");
  },

  received(data) {
    const messagesDiv = document.getElementById("messages");
    if (messagesDiv && data.content) {
      const messageElement = document.createElement("p");
      messageElement.textContent = data.content;
      messagesDiv.appendChild(messageElement);
    }
  }
});

function sendMessage(content) {
  userChatChannel.perform("talk", { content: content });
}

export { sendMessage };
window.sendMessage = sendMessage;
Here we use consumer.subscriptions.create("UserChatChannel", {...}) to create a subscription to our UserChatChannel on the server. This returns a subscription object that we can use to interact with the channel.
The connected() callback will run when the connection is established. Here we just log to the console so we can see that it works.
The disconnected() callback runs if the WebSocket disconnects.
The received(data) callback is important! This callback fires whenever our channel receives a broadcast from the server. In UserChatChannel#talk we broadcast { content: message }. The data argument here will be that same hash. This will update our chat log instantly for all connected clients when a new message comes in.
We also define a helper sendMessage(content) that calls userChatChannel.perform("talk", { content: ... }). This sends a request to the server-side talk action we defined, including the message content the user typed.
Now we need a simple UI for users to send and receive messages. Let's create a very basic view for this.
Building a simple UI for our example app
First, generate a controller:
rails generate controller UserChat index
Next, open up the index view and give it some basic setup:
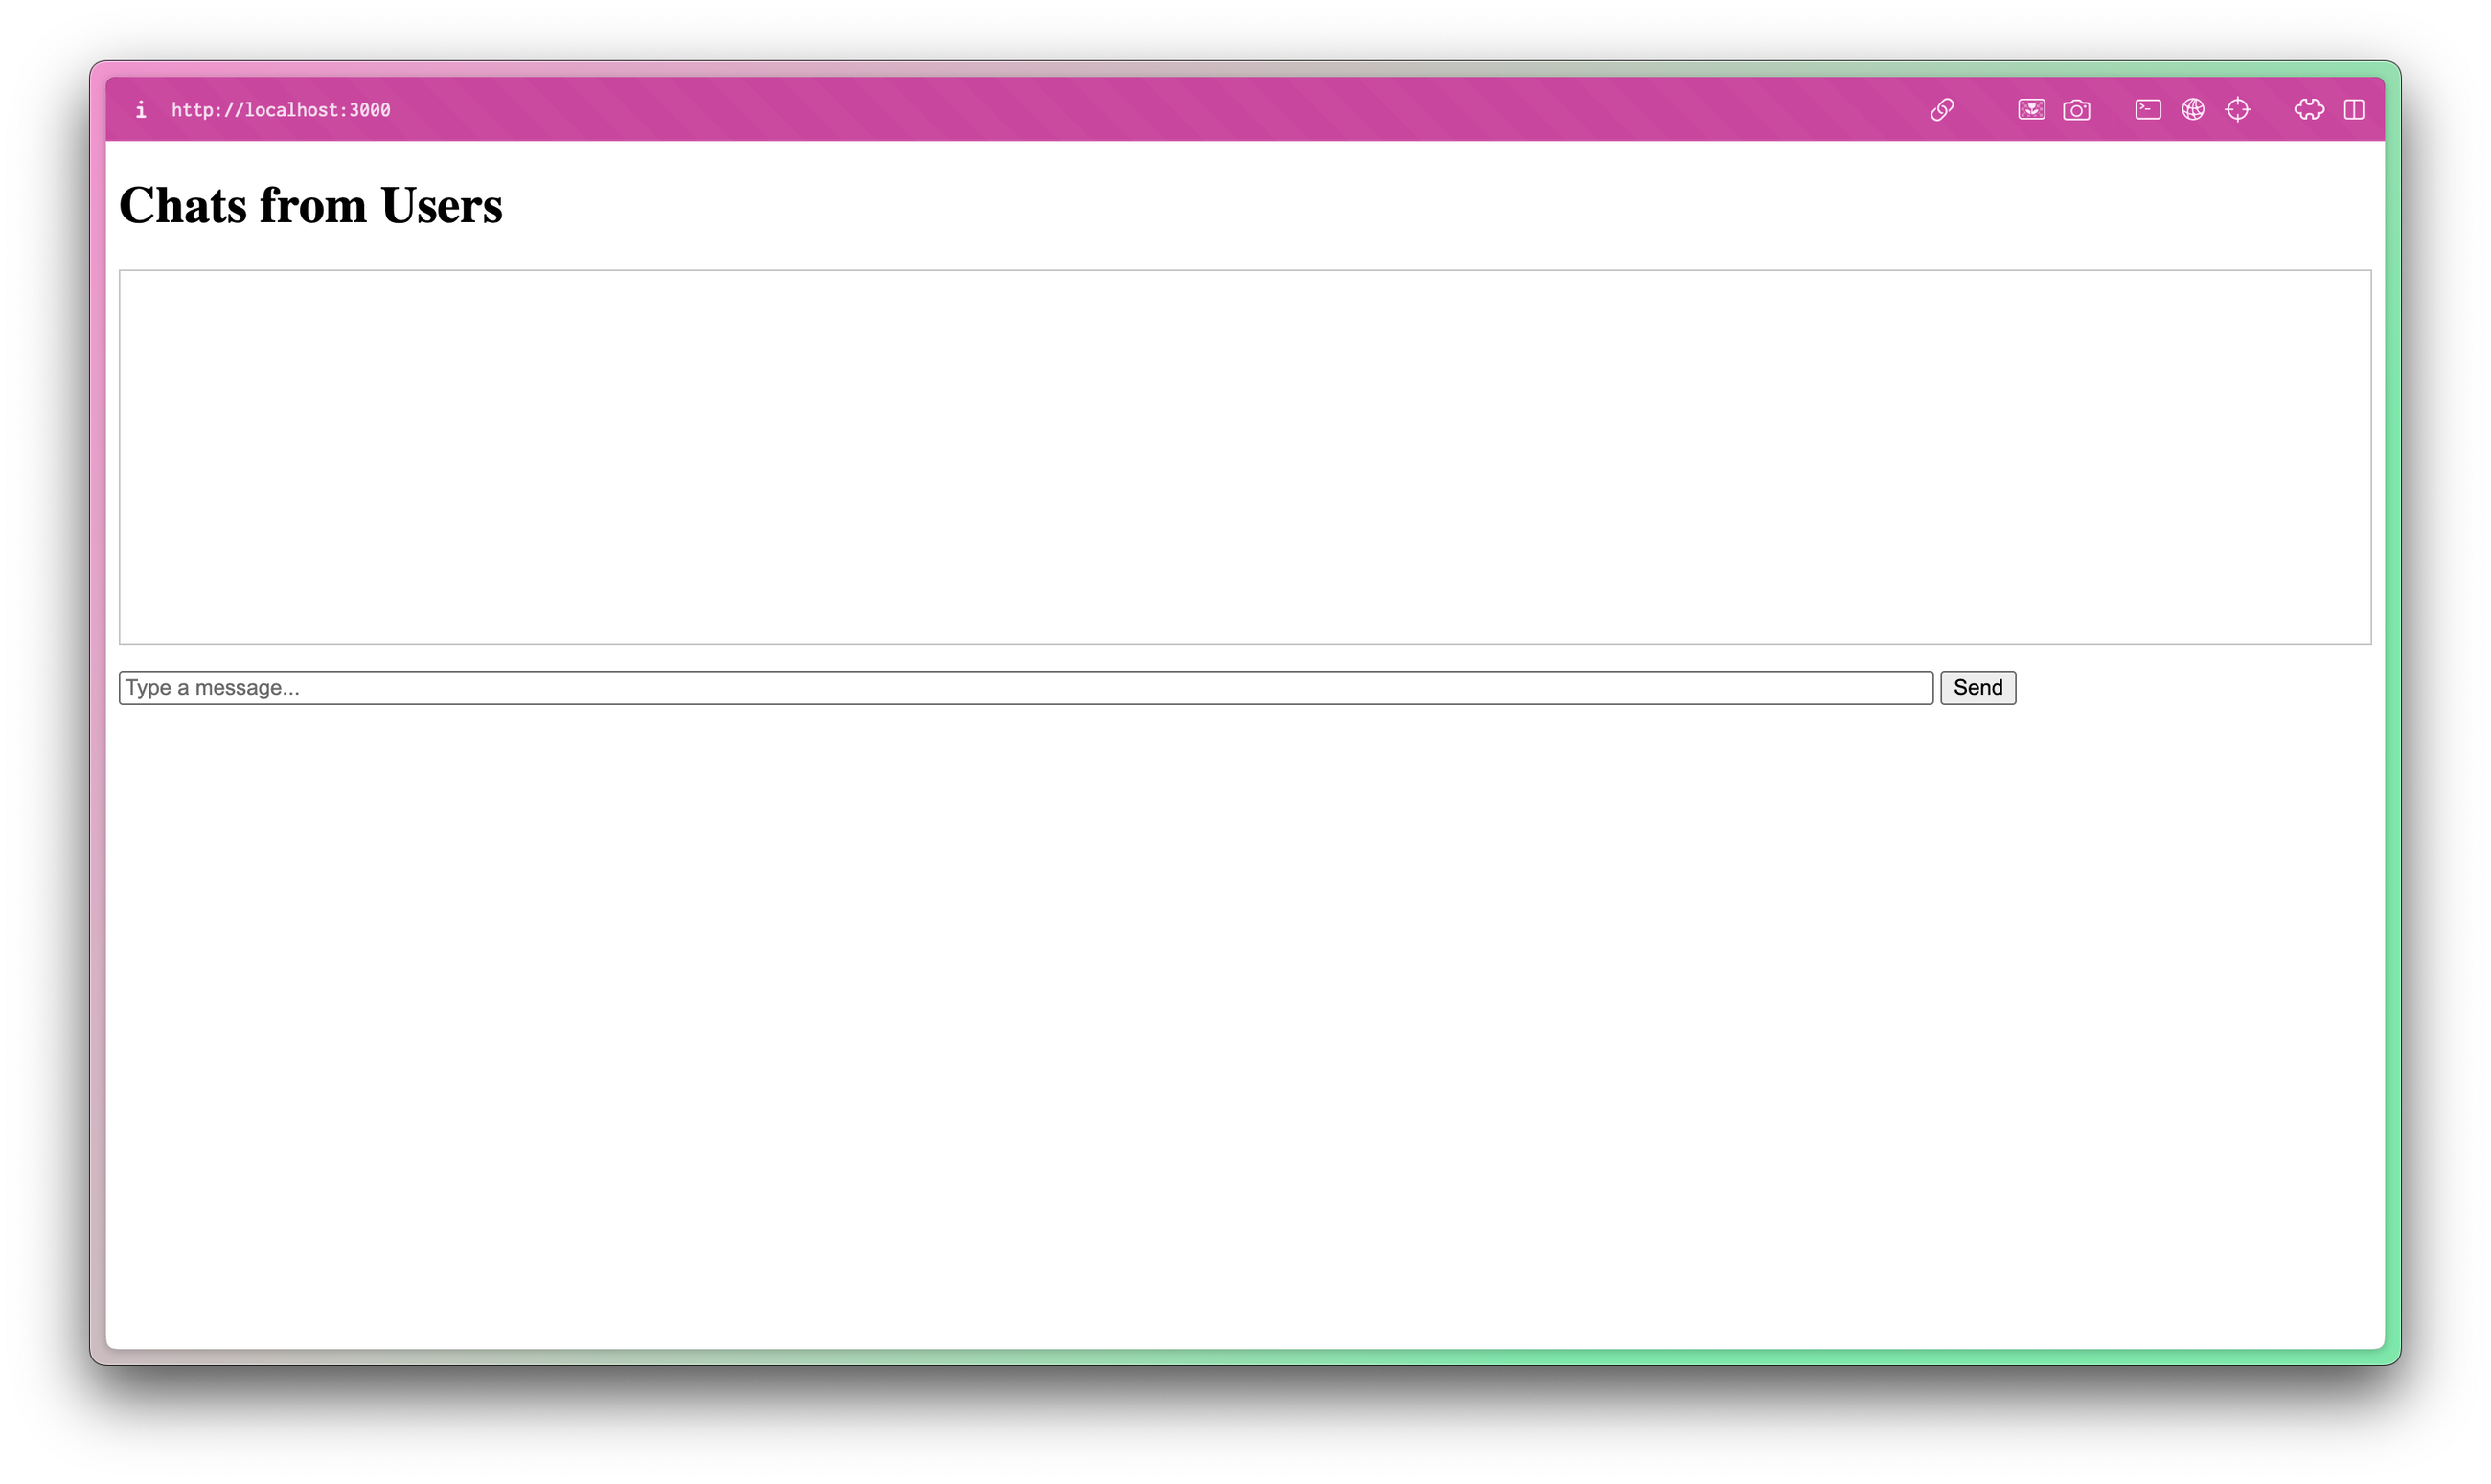
<h1>Chats from Users</h1>

<div id="messages" style="border: 1px solid #ccc; padding: 1em; height: 200px; overflow-y: auto; margin-bottom: 1em;">
  <!-- Messages will appear here -->
</div>

<form id="chat-form" onsubmit="event.preventDefault(); sendMessage(document.getElementById('chat-input').value); document.getElementById('chat-input').value = '';">
  <input type="text" id="chat-input" placeholder="Type a message..." autocomplete="off" style="width: 80%;" />
  <button type="submit">Send</button>
</form>
Lastly, set up the root route to point to this new route in config/routes.rb:
root "user_chat#index"
Showing off how it all works together
Our simple chat app is ready for testing! Run the project with bin/dev and visit localhost:3000:
To show off the real-time updates, open the app in two different browser tabs. In one tab, enter a message like "Hello from tab number 1!"
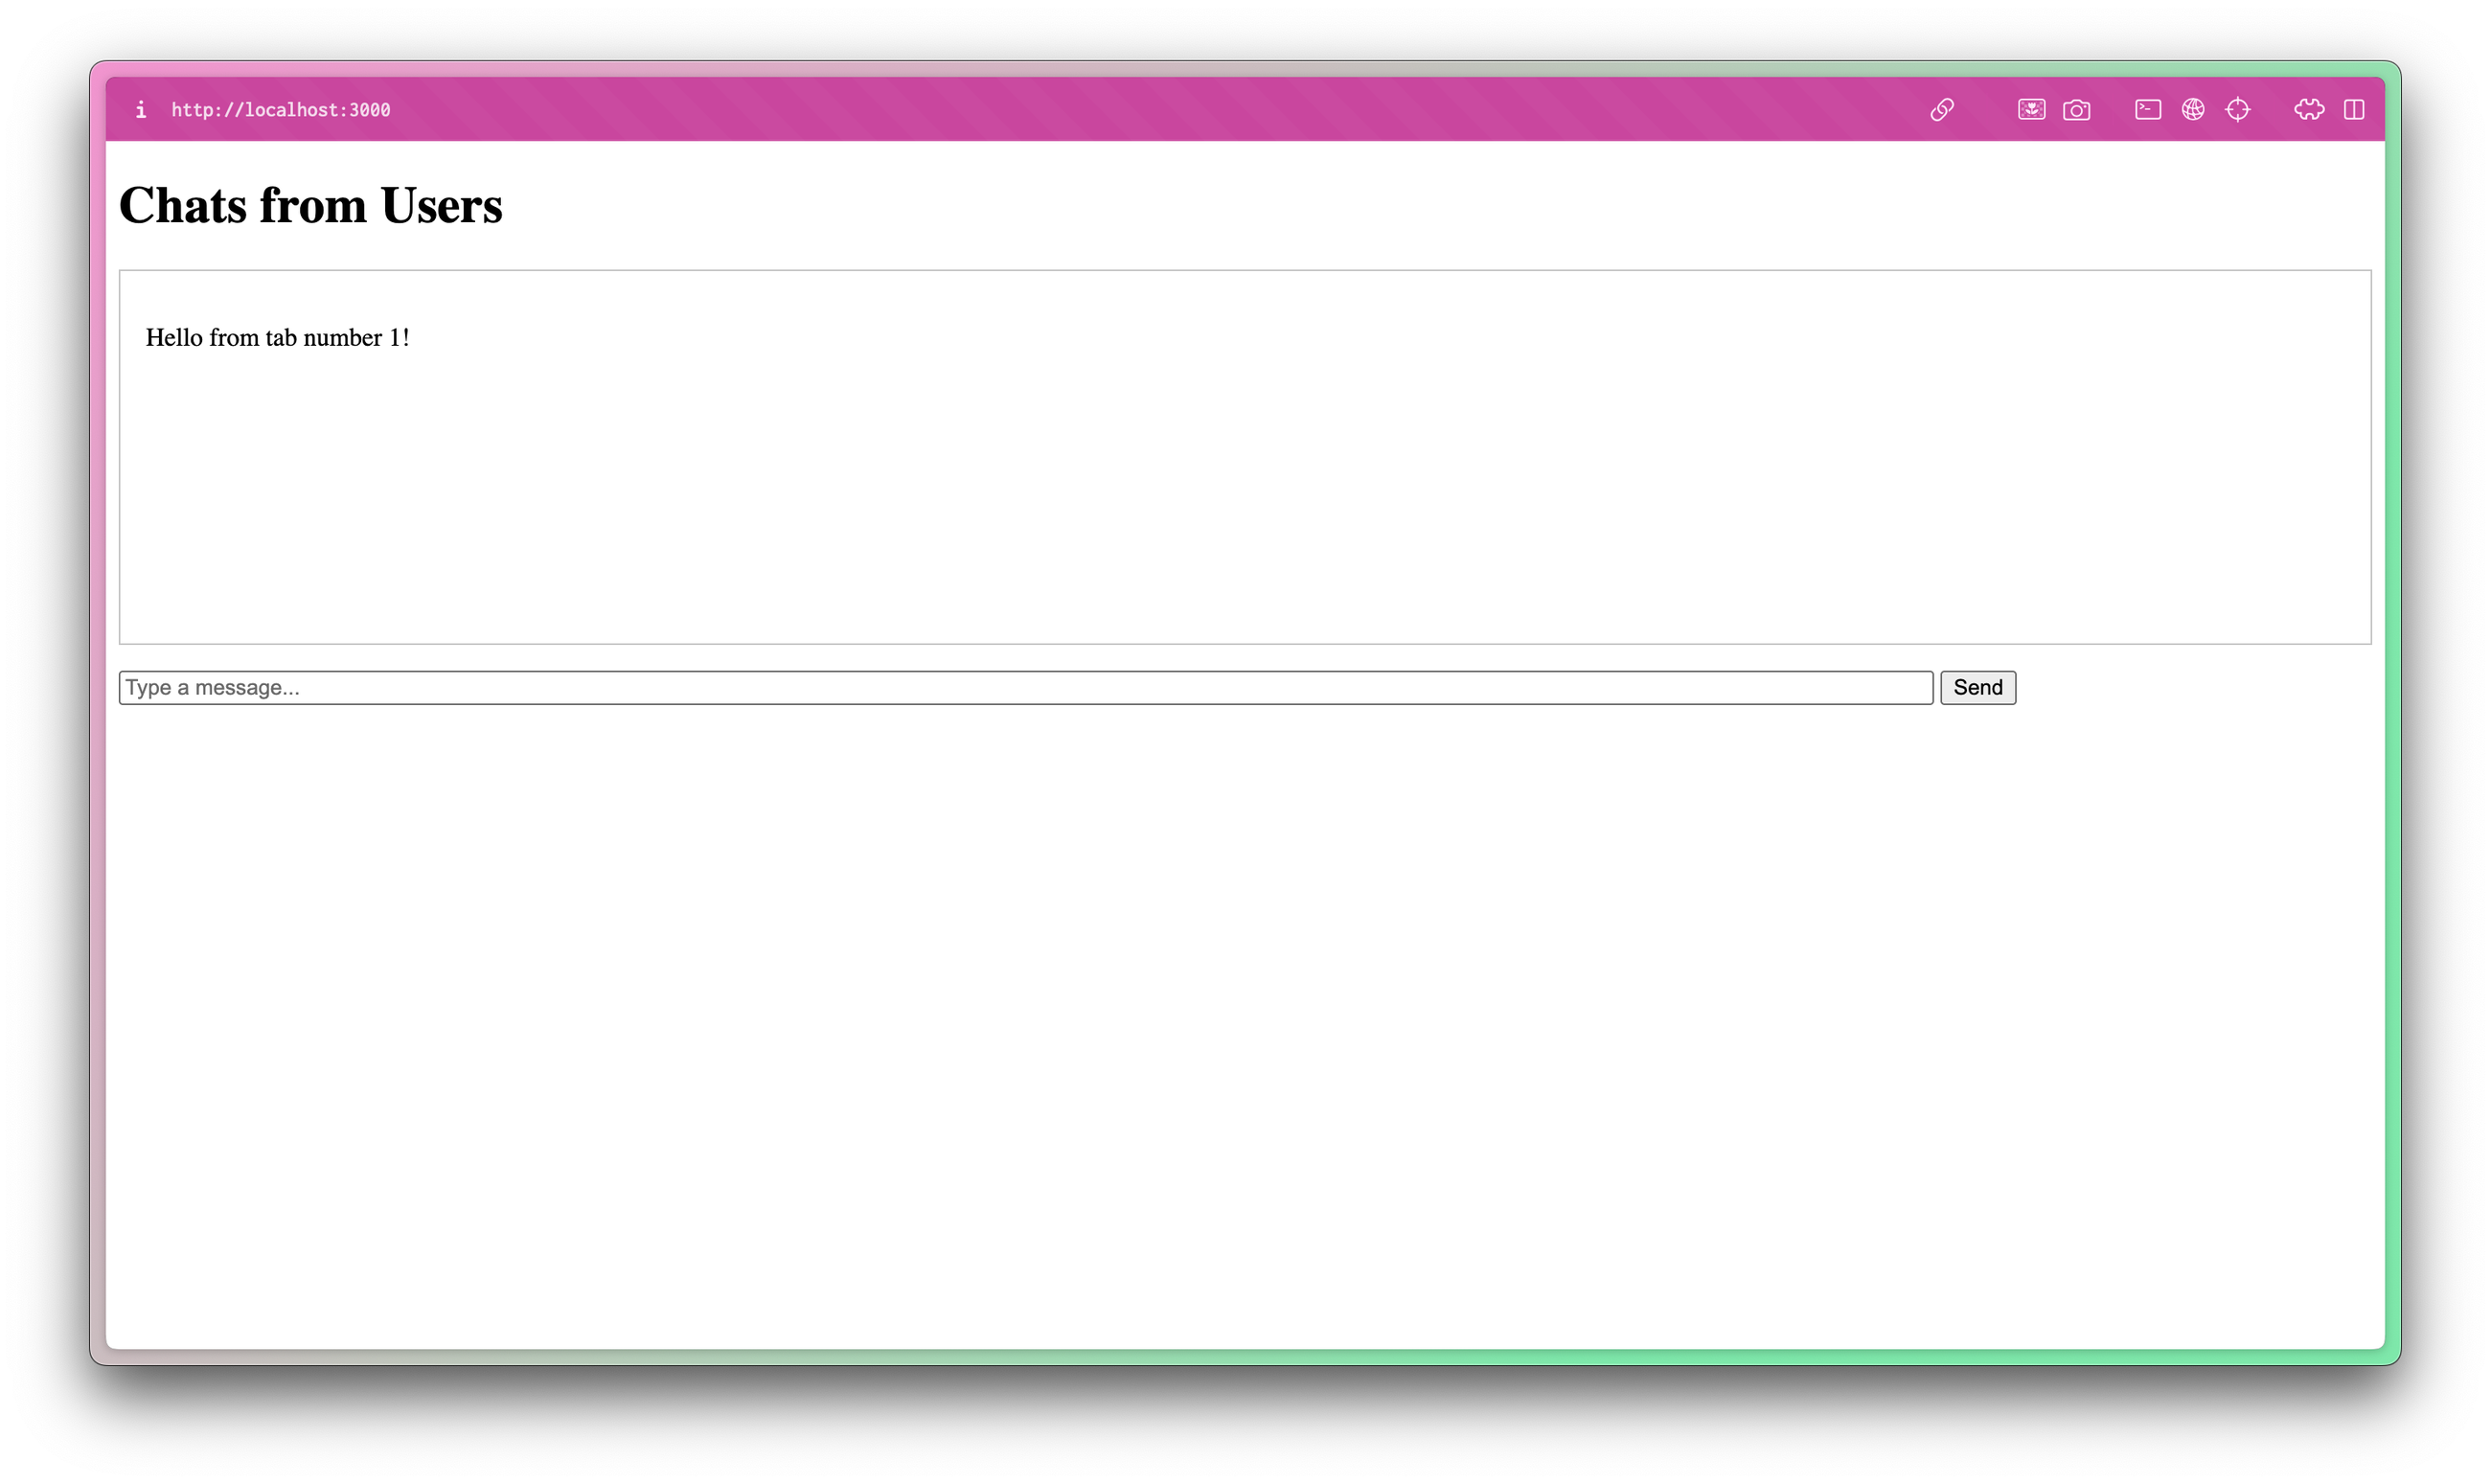 If you send a message from the second tab, you'll see it appear in the first tab!

Deploying Rails Action Cable to production
Solid Cable stores WebSocket messages in a database table, and our example above used the default cable database. Rails 8 also defaults to using SQLite for Solid Cable in new apps, but you can technically point it to any Rails-supported database by adding a cable section in config/database.yml.
In fact, using a separate database for Solid Cable is recommended in production to isolate real-time messaging load from the rest of your data. For example, you might provision a dedicated app_production_cable database for Solid Cable while your primary app data stays in app_production.
This separation prevents chat or notification traffic from contending with your main application queries. That said, for smaller apps, it's usually fine to use a single database for both app data and Cable messages.
The non-obvious part is to ensure the Solid Cable database is included in your deployment setup. If you do use a separate database, remember to run rails db:prepare or rails db:migrate so that Rails creates the messages table in production.
Keep in mind that each WebSocket connection consumes server memory, so make sure your server has enough resources to handle the number of connections you need.
Configuring polling intervals
The polling frequency for Solid Cable is configurable, allowing you to balance latency with database load. Decreasing the interval results in more frequent polling, which reduces the time to pick up new messages, but at the cost of more SELECT queries on your database.
Conversely, a longer interval would lighten database usage but introduce more delay in broadcasts and updates. In practice, the default 0.1s (10 polls per second) is a good starting point that provides seemingly real-time updates without overwhelming most databases.
Solid Cable is an essential pillar of the Solid Trifecta
You've seen how Rails Action Cable brings WebSockets to Rails for real-time communication, and how Solid Cable makes it possible without Redis. Did you know there are two other "Solid" libraries in Rails? Solid Cache makes it easy to cache without Redis, and Solid Queue lets you process background jobs without Redis.
Using the "Solid Trifecta" gives you a remarkably functional framework for building interactive applications with minimal infrastructure overhead.
The key advantage of Solid Cable and its siblings is simplicity. Our Rails app's real-time functionality works out of the box with just the app's database behind the scenes. Deployment is simpler (no Redis or additional services), and for many applications, performance is more than sufficient.
Of course, when running any Rails application in production, you should monitor it for issues that your users may encounter. Wouldn't you like to know when something goes wrong with your Action Cable consumers and channels before your users do?
Honeybadger is an excellent choice for Rails error and performance monitoring, which are critical for deploying real-time applications. Honeybadger alerts you instantly when errors happen anywhere in your application—in the backend and on the client side—and pulls in your application logs and performance data for rapid search, troubleshooting, and resolution.
Sign up for Honeybadger to get started!

Written by
Jeffery MorhousJeff is a Software Engineer working in healthcare technology using Ruby on Rails, React, and plenty more tools. He loves making things that make life more interesting and learning as much he can on the way. In his spare time, he loves to play guitar, hike, and tinker with cars.